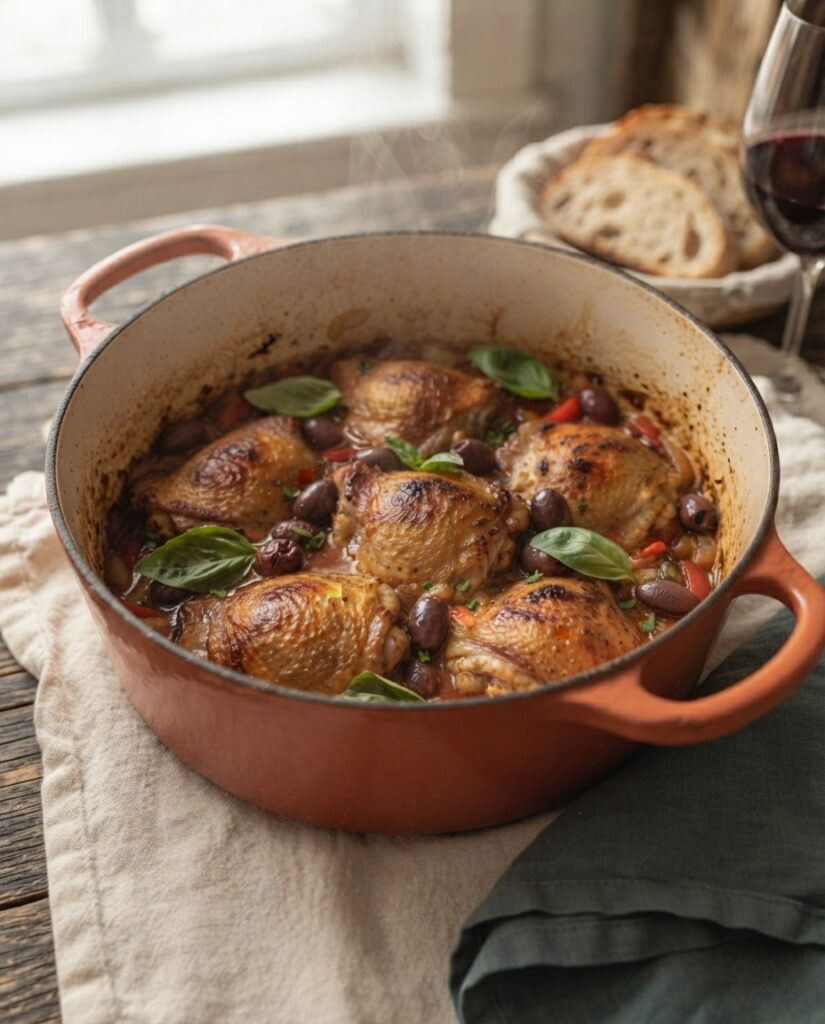

Why This Oven-Braised Chicken Cacciatore Will Become Your Family’s New Sunday Tradition
There’s a magical moment, about twenty minutes after this dish slides into the oven, when your kitchen starts smelling like a tiny trattoria tucked into the Italian countryside. Tomatoes, garlic, wine, and rosemary all whispering together behind the oven door. That’s when you’ll realize chicken cacciatore isn’t just dinner — it’s a warm hug in a pot.
What on Earth Is “Cacciatore”?
“Cacciatore” (say it: kah-chah-TOH-reh) means “hunter-style” in Italian. Back in the day in rural Tuscany and Umbria, hunters’ families braised the day’s catch with whatever was around — tomatoes, onions, wine, and garden herbs. Chicken eventually took the starring role because, let’s be honest, chickens are far easier to catch than pheasants. Every Italian household has its own version, and after one bite, yours will too.
Why the Oven Method Is the Genius Move
Classic stovetop cacciatore has you hovering over the burner, stirring, fussing, and worrying about scorching. Not here. We do a quick sear on the stovetop for flavor, then hand the job to the oven. Gentle, even heat turns the chicken fall-off-the-bone tender without drying it out, while the sauce thickens into silky, spoon-clinging richness — all while you help with homework, fold laundry, or (radical idea) actually sit down.

Why Busy Cooks and Beginners Will Love It
- About 20 minutes of hands-on time — the oven does the rest.
- One pot from stovetop to table means fewer dishes and a prettier dinner.
- Forgiving chicken thighs that stay juicy even if you lose track of time.
- Leftovers taste even better the next day, making it a lunch (and budget) hero.

Roll up your sleeves, grab your biggest pot, and let’s make some magic.
Oven-Braised Chicken Cacciatore Recipe
Description
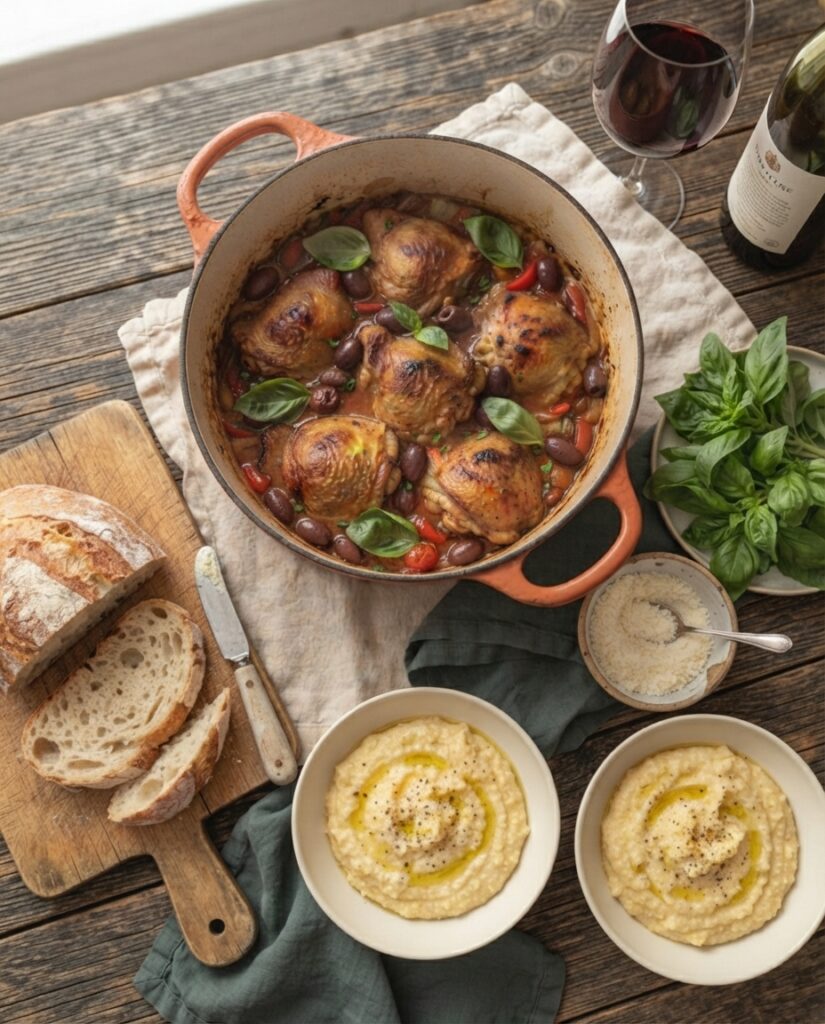
This oven-braised chicken cacciatore sears juicy thighs, then lets the oven do all the work in one pot. Serve it over polenta, pasta, or mashed potatoes — and don't skip the crusty bread, because that sauce is liquid gold.
Ingredients
For the Chicken
For the Braise
For Serving
Instructions
-
Prep and Season the Chicken
Pat the chicken thighs very dry with paper towels, then season both sides with the salt and pepper. Set the plate right next to the stove so you're not dripping across the kitchen later.
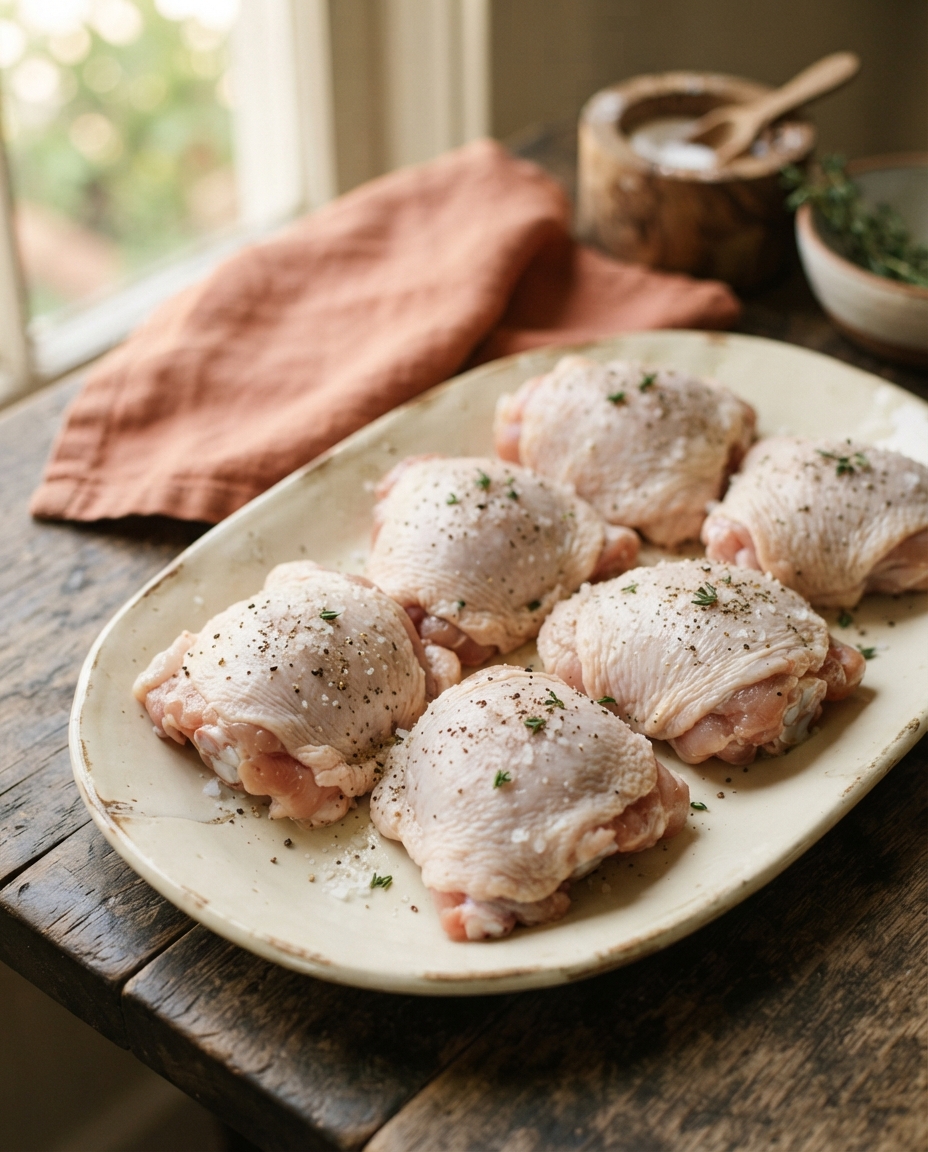 Dry chicken browns beautifully; wet chicken steams and sulks. That extra two minutes with paper towels pays you back in golden, crispy skin.
-
Sear the Chicken Until Golden
Heat the olive oil in a large Dutch oven over medium-high heat. Lay the thighs in skin-side down without crowding (two batches if needed) and cook 5–6 minutes until deep golden brown. Flip and cook 2 minutes more, then move the chicken to a plate.
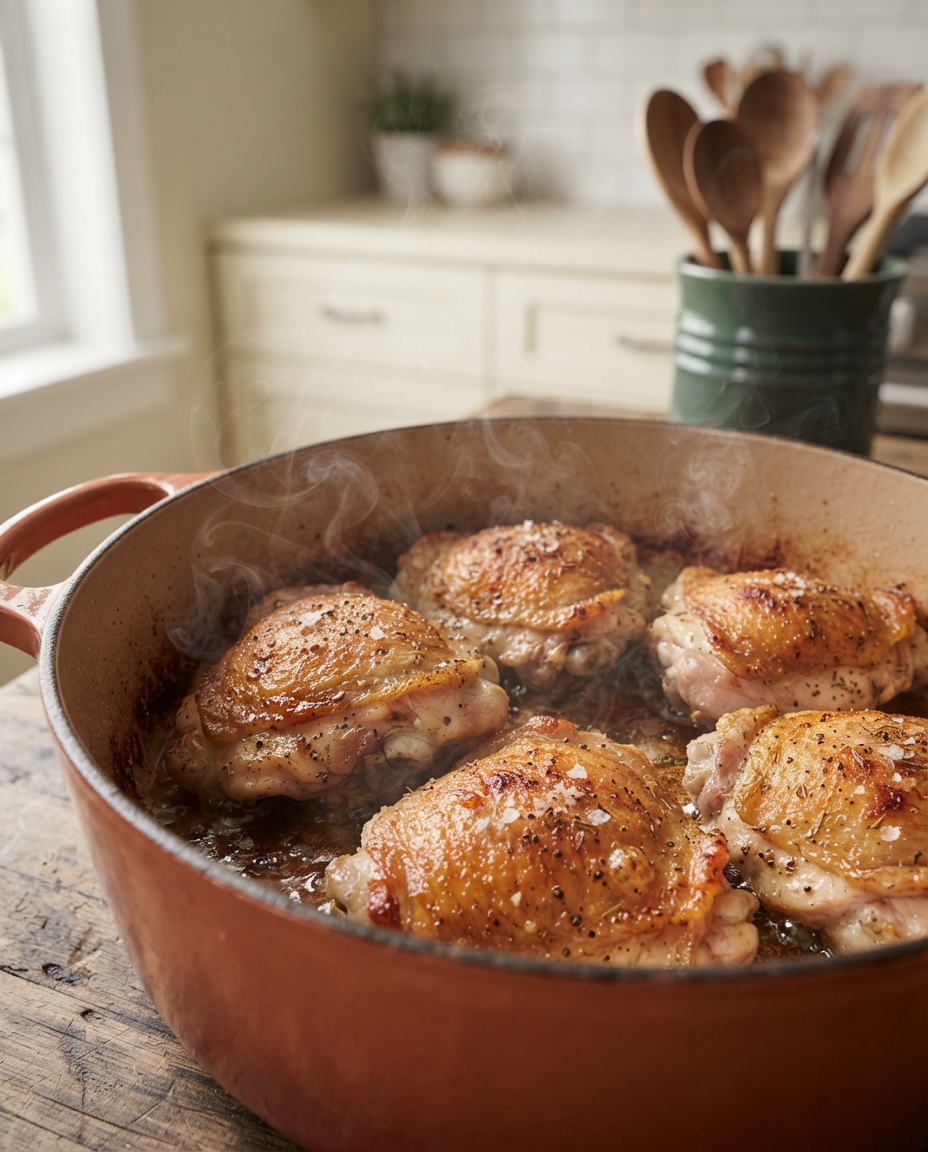 Don't move the chicken until it releases on its own — if it sticks, it's not ready. And whatever you do, don't wash that pot. The browned bits stuck to the bottom are pure flavor gold.
-
Sauté the Vegetables
Turn the heat down to medium. Add the onion, bell pepper, and mushrooms to the same pot and cook 5–6 minutes, stirring now and then, until softened and starting to brown at the edges.
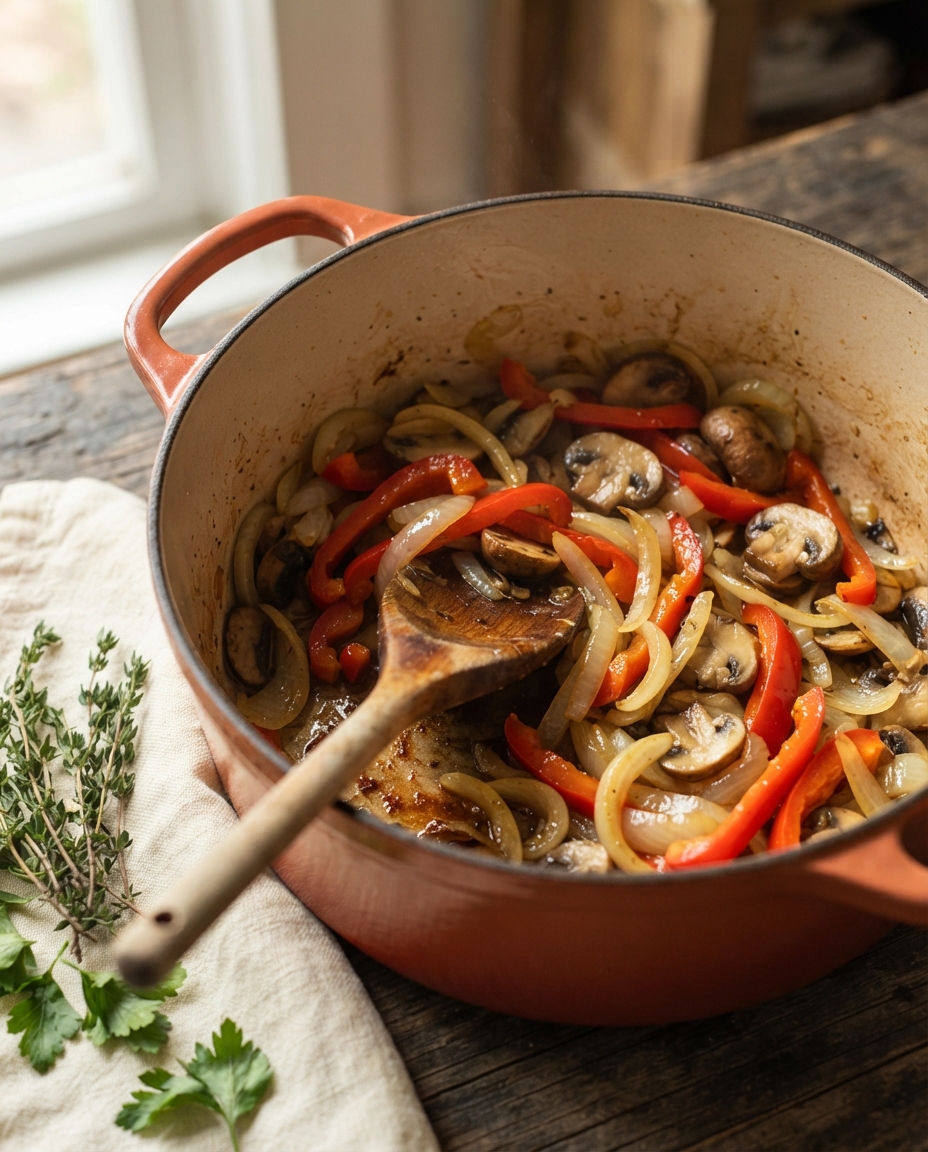 The veggies are sizzling in leftover chicken fat right now — that's not grease, friend, that's free flavor. Scrape the bottom of the pot as you stir to pick up every browned bit.
-
Cook the Garlic and Tomato Paste
Stir in the garlic and tomato paste and cook about 1 minute, until fragrant and the paste turns a shade darker, like brick red.
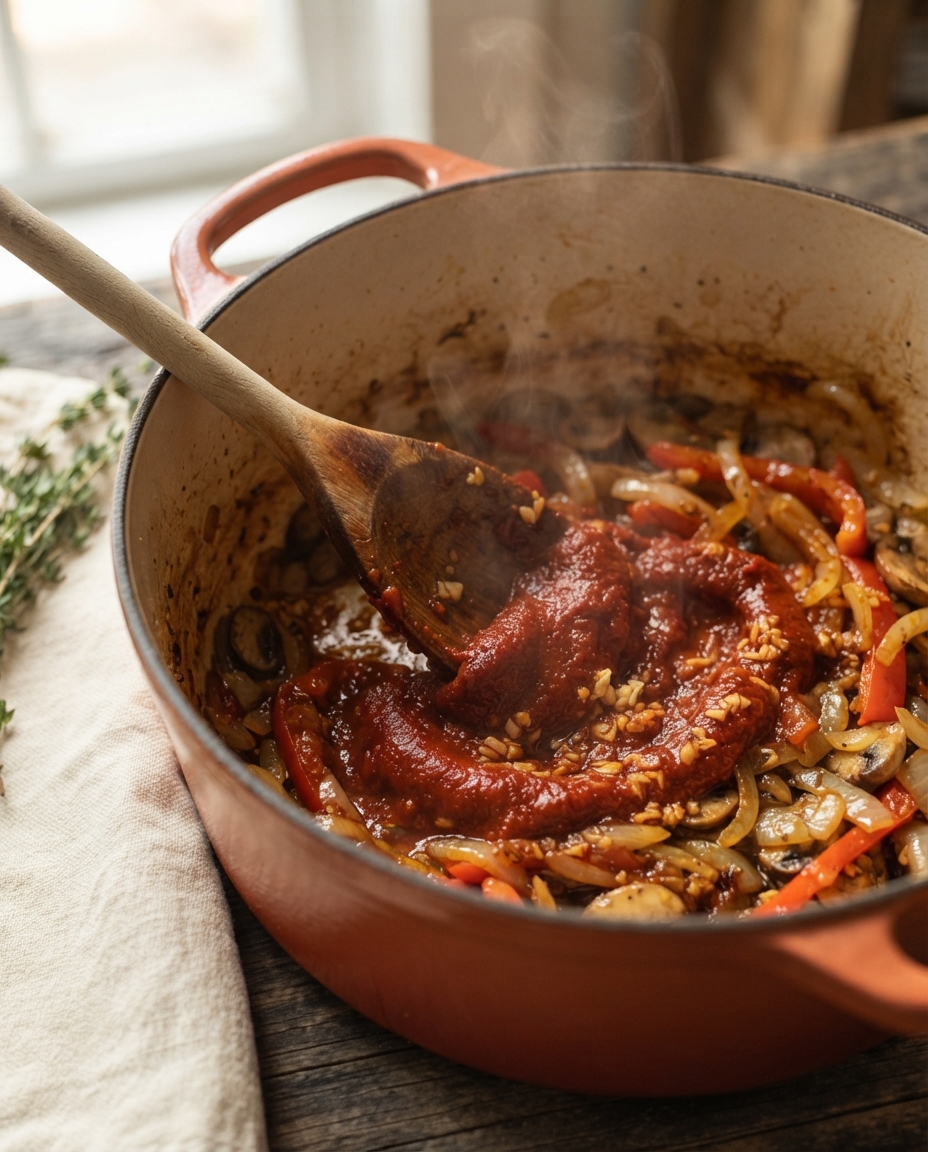 Giving tomato paste a full minute in the pot cooks out the metallic "tinny" taste and turns it sweet and rich. When your kitchen smells amazing, it's ready.
-
Pour in the Wine and Build the Sauce
Pour in the red wine and scrape up all the browned bits from the bottom of the pot. Stir in the crushed tomatoes, chicken broth, oregano, dried basil, rosemary, bay leaves, and sugar. Let it bubble gently for 2–3 minutes.
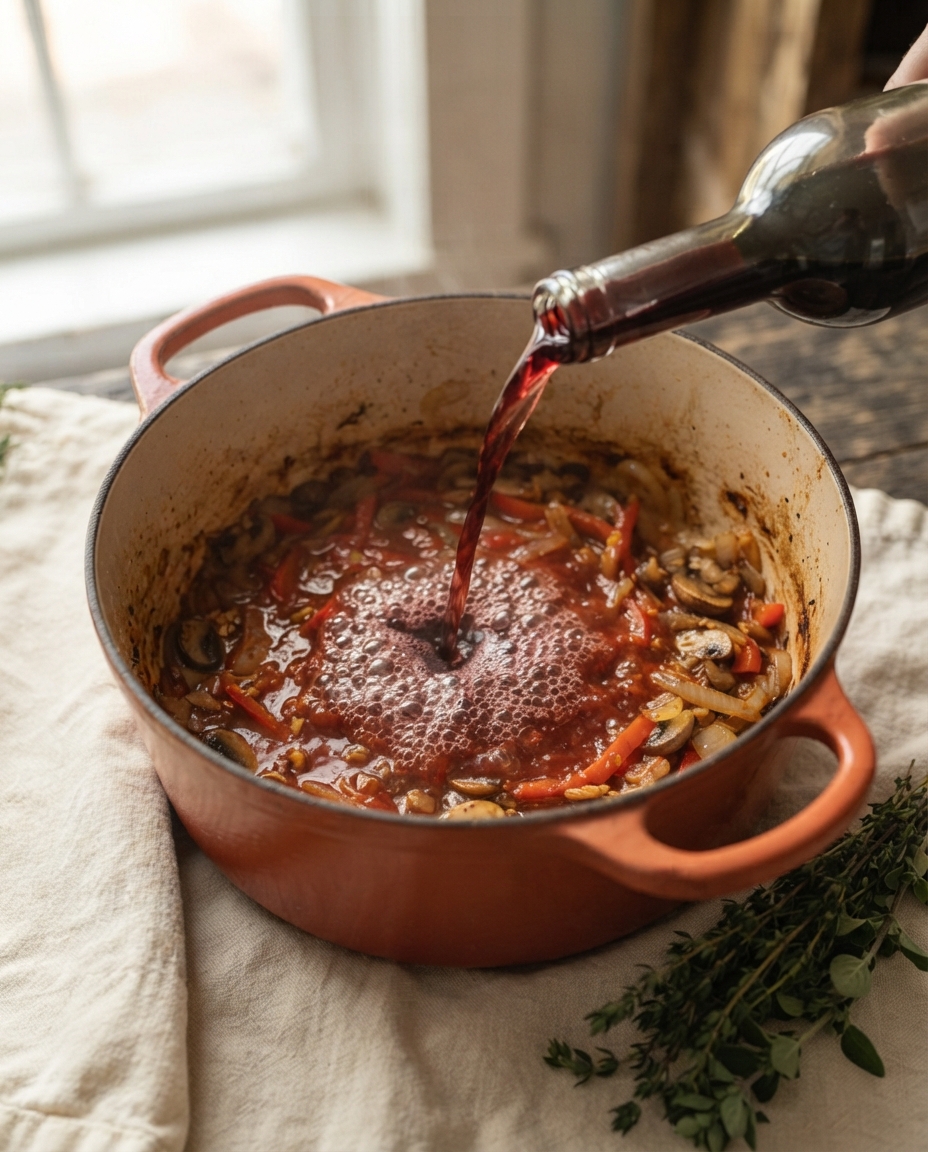 No wine? No problem — use extra broth plus a tablespoon of red wine vinegar for that tangy depth. And yes, the sugar is intentional: it tames tomato tang without making anything taste sweet.
-
Nestle the Chicken In and Braise
Return the chicken (plus any juices on the plate) to the pot, skin-side up, so the skin stays above the sauce. Cover with the lid and slide into your preheated 350°F oven. Braise 45–50 minutes, until the chicken is tender and the sauce is bubbling.
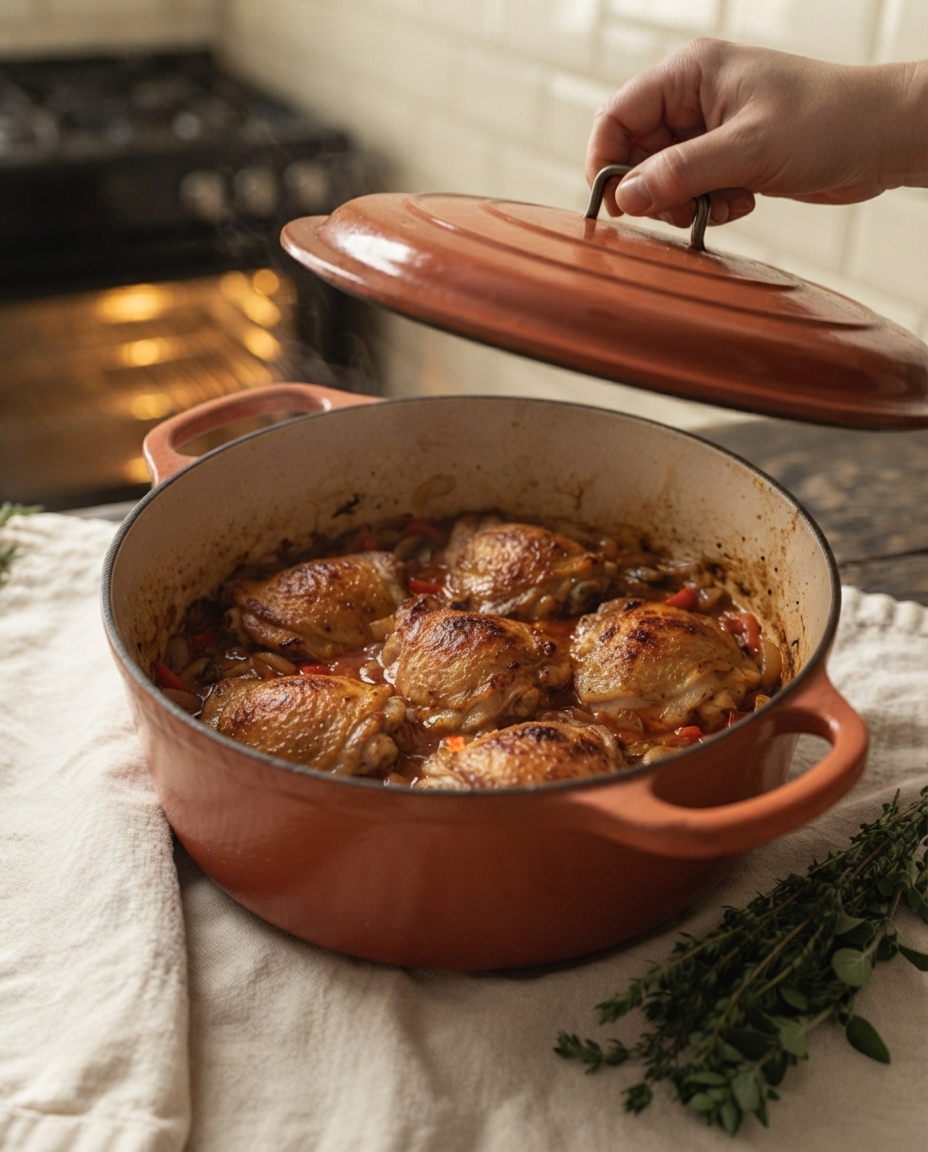 Keeping the skin above the sauce is the secret to avoiding soggy chicken skin. And resist peeking — every lid-lift lets precious heat escape. Trust the oven; it's got this.
-
Add Olives and Thicken the Sauce
Carefully remove the lid, scatter the Kalamata olives over the top, and return the pot to the oven uncovered for 10 more minutes, until the sauce thickens enough to cling to a spoon.
 The spoon test: drag a wooden spoon through the sauce — if the trail holds for a second before filling back in, you're perfect. Still thin? Give it a few more uncovered minutes.
-
Rest, Garnish, and Serve
Let the pot rest 10 minutes so the juices settle. Fish out the bay leaves and rosemary sprig, shower everything with fresh basil or parsley, and serve hot over polenta, pasta, or mashed potatoes — with crusty bread for the sauce.
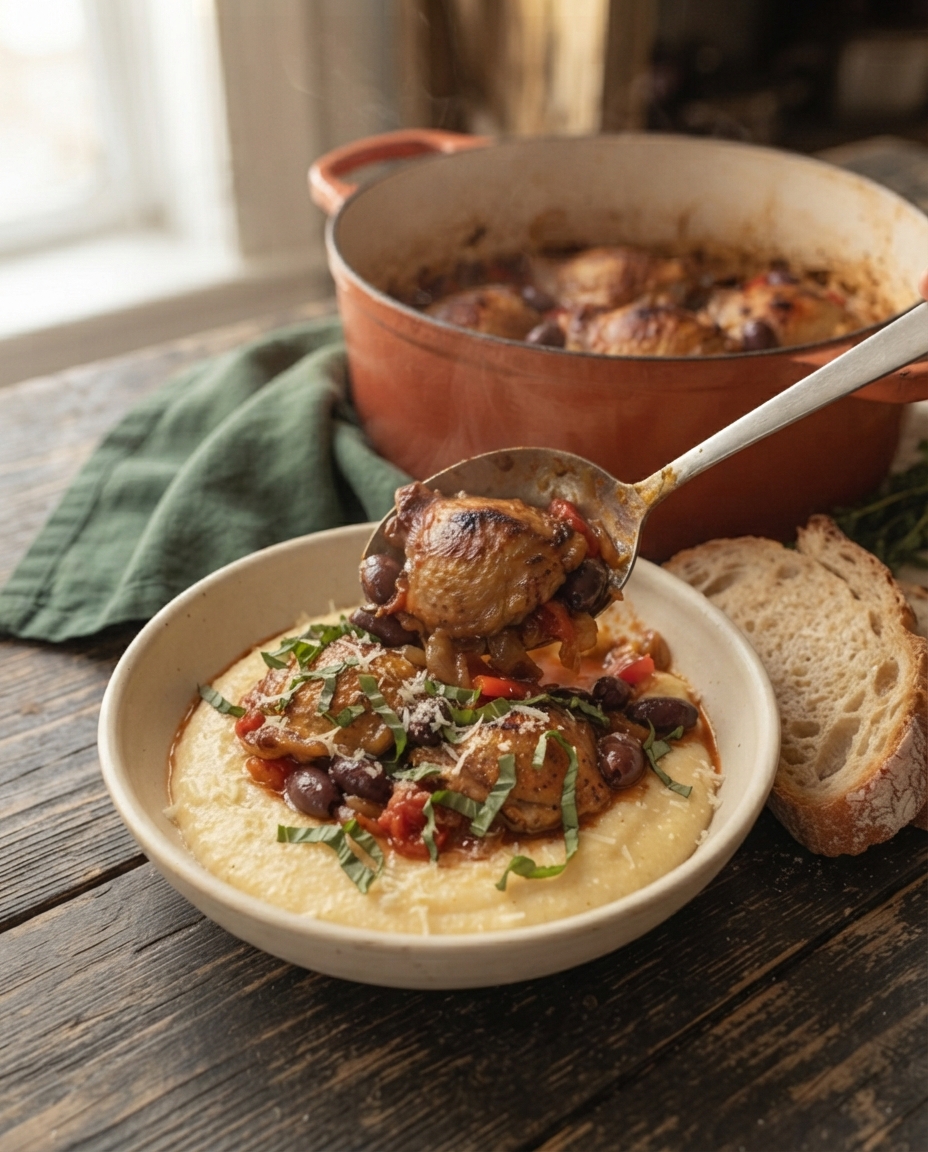 Resting isn't optional; it's the difference between juicy chicken and chicken that leaves all its flavor on the plate. Ten minutes. Go set the table and look accomplished.
Nutrition Facts
Nutrition Facts
Servings 4
Serving Size 1
- Amount Per Serving
- Calories 520kcal
- % Daily Value *
- Total Fat 30g47%
- Saturated Fat 7g35%
- Sodium 780mg33%
- Potassium 9mg1%
- Total Carbohydrate 16g6%
- Sugars 4g
- Protein 38g76%
* Percent Daily Values are based on a 2,000 calorie diet. Your daily value may be higher or lower depending on your calorie needs.
Note
Substitutions
- No wine? Use extra chicken broth + 1 tablespoon red wine vinegar. White wine works too.
- Different chicken: Drumsticks work 1:1. For bone-in breasts, check at 35 minutes so they don't dry out.
- Veggie swaps: Skip mushrooms, or toss in zucchini, carrots, or celery — the sauce is very forgiving.
- Olives not your thing? Leave them out; add a handful of capers instead, or nothing at all.
Storage
- Fridge: Airtight container, up to 4 days.
- Freezer: Cool completely, freeze up to 3 months (leave an inch of headspace for expansion).
- Reheat: Gently on the stove with a splash of broth, or in the microwave. Low and slow keeps it juicy.
Make-Ahead
- This tastes even better the next day — it's a natural meal-prep winner.
- You can also cook it fully up to 2 days ahead and reheat, or season the chicken the night before for a head start.
Serving Ideas: Polenta, pasta, mashed potatoes, rice, or a pile of crusty bread. A simple green salad makes it a feast.