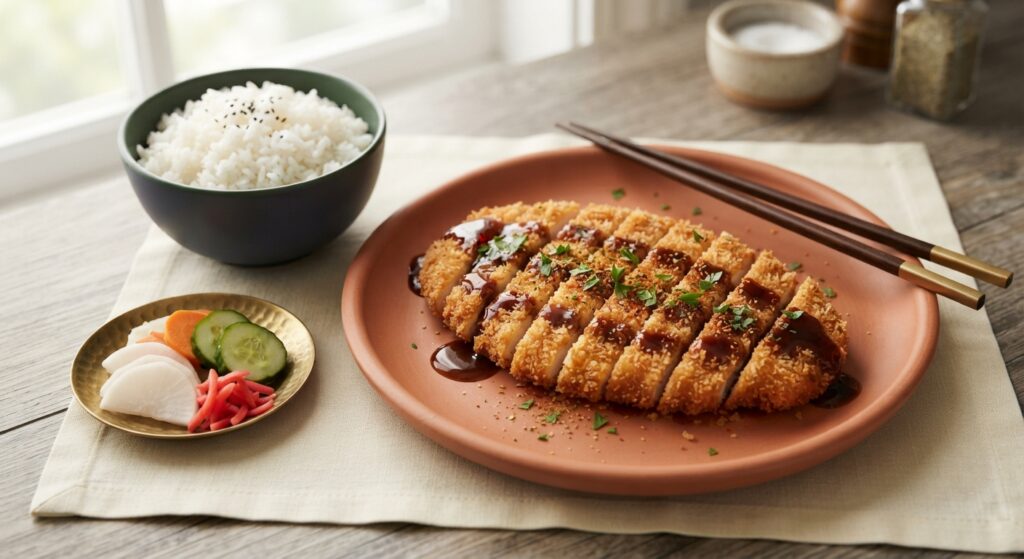

Crispy Chicken Katsu That’ll Make You Forget Takeout
Let me tell you, friends, there’s something magical about that first crunch when you bite into perfectly golden, crispy chicken katsu. I first fell in love with this dish at a little Japanese restaurant downtown back in the ’90s, and I’ve been chasing that crispy dream ever since.
Why This Recipe Is Pure Genius
Here’s the thing: restaurant chicken katsu can set you back $15-20 per plate. But when you make it at home? You’re looking at maybe $8 for the whole family dinner. Plus, you get to control exactly what goes into that breading and frying oil. No mystery ingredients, no weird preservatives—just good, honest, crispy chicken.
The Secret to Restaurant-Quality Katsu at Home
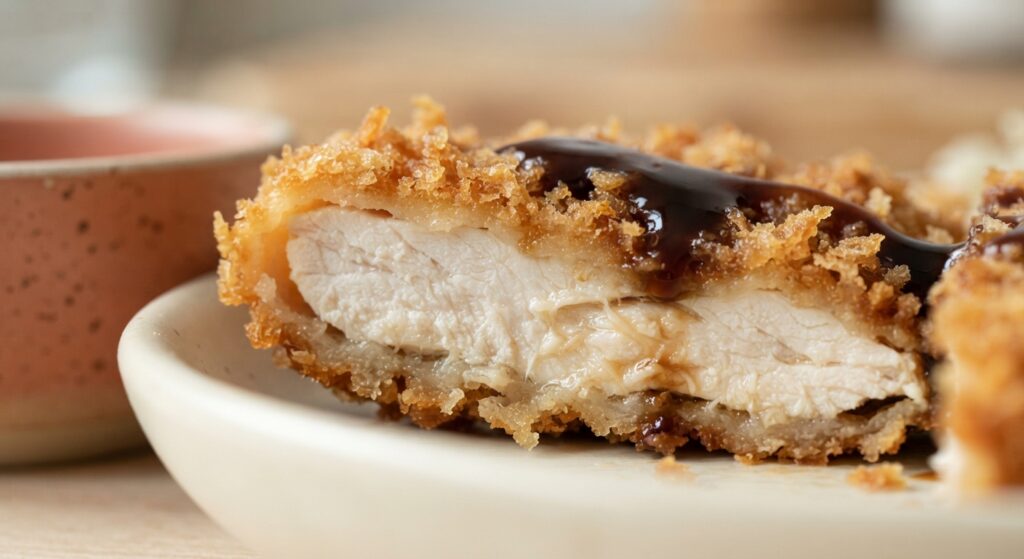
The trick isn’t complicated—it’s all about the breading technique and oil temperature. I’ve tested this recipe more times than I can count (my kids aren’t complaining), and I’ve nailed down the exact method that gives you that shatteringly crisp exterior while keeping the inside juicy and tender.
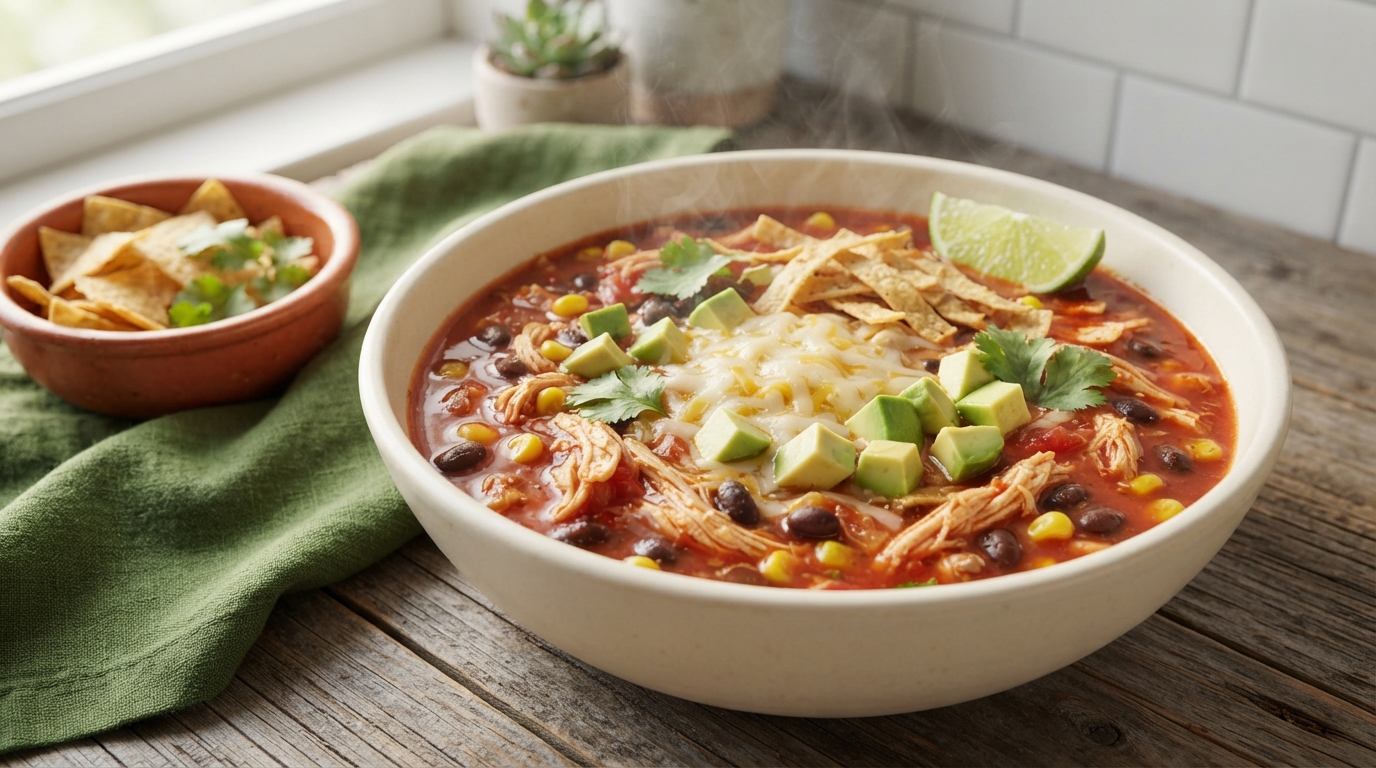
That Tonkatsu Sauce Though!
Now, you could buy bottled tonkatsu sauce, sure. But this quick homemade version? It takes 5 minutes, uses pantry staples, and tastes infinitely better. It’s tangy, slightly sweet, with this deep umami punch that makes everything better. Trust me on this one.
Perfect for Busy Weeknights
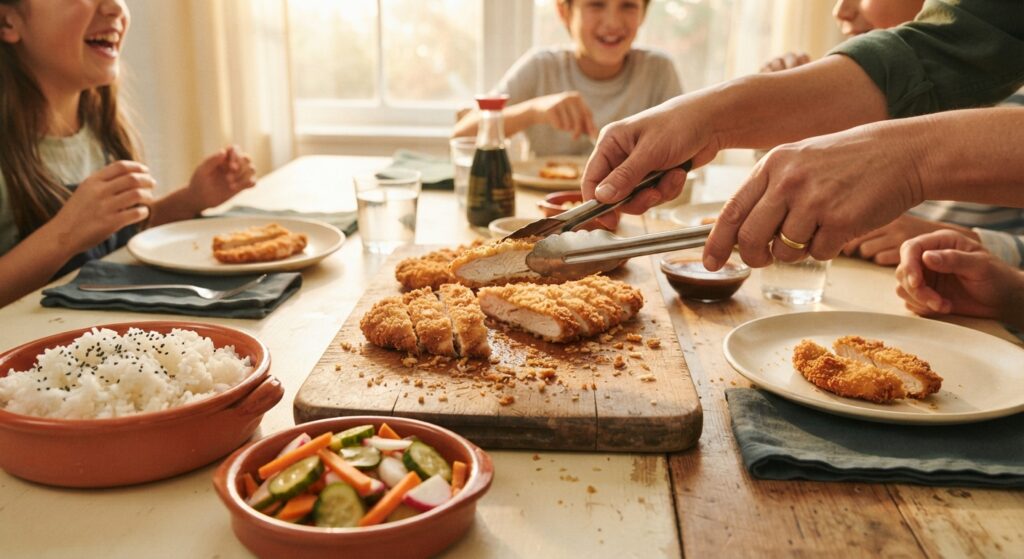
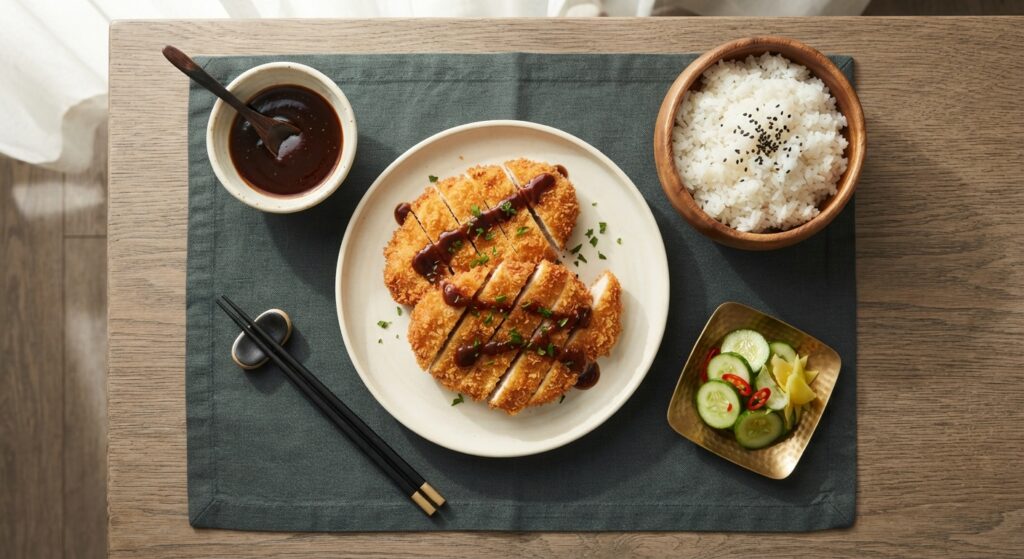
Don’t let the frying scare you off. This comes together faster than delivery, and your kids will think you’re a culinary genius. Serve it with rice, some quick-pickled cucumbers, and you’ve got a meal that’s better than any takeout.
Crispy Chicken Katsu with Homemade Tonkatsu Sauce
Description
This easy chicken katsu recipe delivers irresistibly crispy panko-breaded chicken with a quick 5-minute homemade tonkatsu sauce. Perfect for busy weeknights, kid-friendly, and way better than takeout!
Ingredients
For the Chicken Katsu
For the Quick Tonkatsu Sauce
Instructions
-
Prepare and Pound the Chicken
Place each chicken breast between two pieces of plastic wrap. Using a meat mallet or heavy skillet, pound to 1/2-inch thickness. Season both sides with salt and pepper.
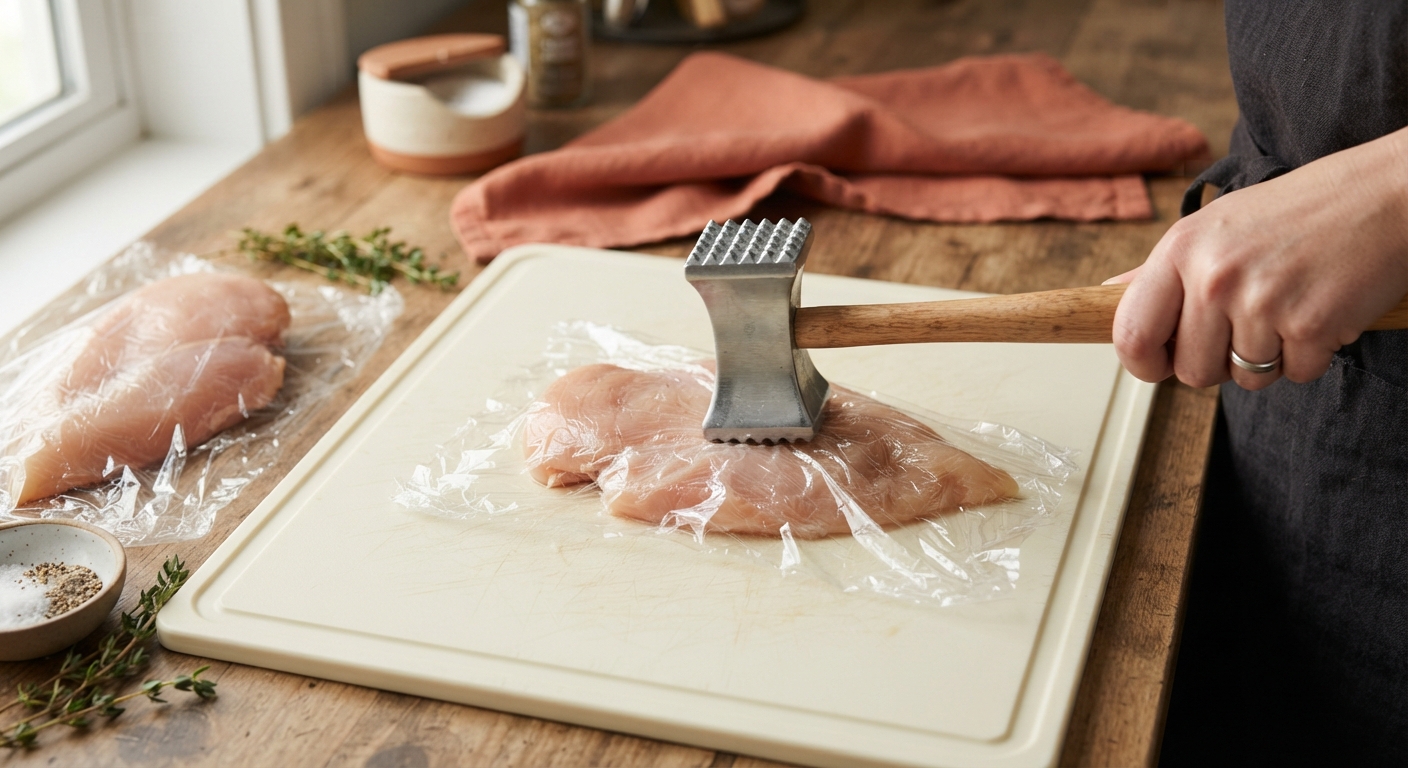 Don't skip the pounding! Even thickness means even cooking. No meat mallet? Use a wine bottle or heavy-bottomed pan. Just don't use your good cast iron—you might crack it!
-
Set Up Your Breading Station
Arrange three shallow dishes in a row. Place flour in the first dish. In the second dish, beat the eggs with a fork until uniform. In the third dish, combine panko breadcrumbs, garlic powder, salt, and pepper, mixing well.
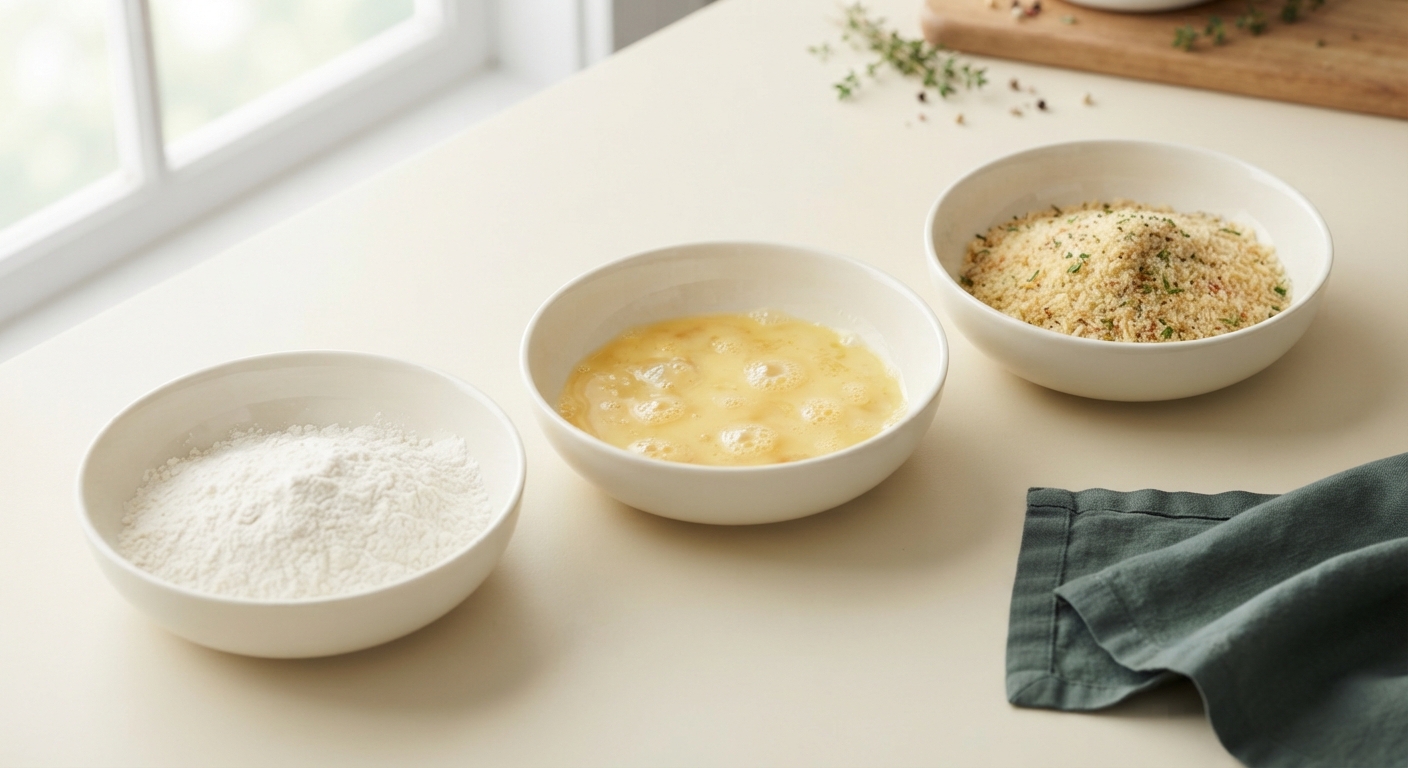 Keep one hand for dry ingredients and one for wet! I use my left hand for flour and panko, right hand for eggs. Saves you from ending up with breaded fingers. Yes, I've been there.
-
Bread the Chicken Cutlets
Dredge each chicken breast in flour, shaking off excess. Dip into beaten eggs, letting excess drip off. Press firmly into panko mixture, coating both sides thoroughly. Place on wire rack and let rest 5 minutes.
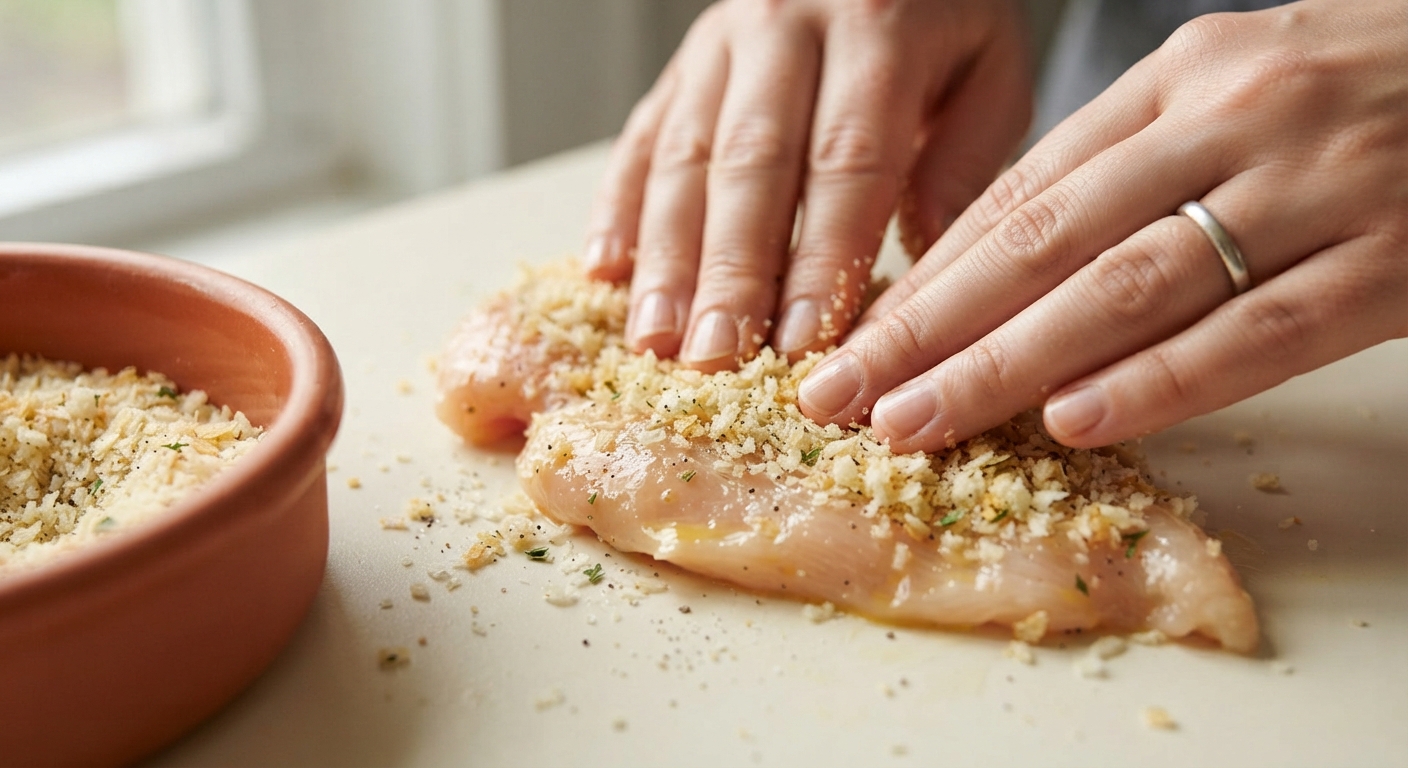 Press that panko on there like you mean it! Gentle pressing helps it adhere better. And that 5-minute rest? It's not optional—it helps the coating stick during frying instead of falling off in the oil.
-
Heat the Oil to Perfect Temperature
Pour oil into a large skillet or Dutch oven to depth of 1/2 inch. Heat over medium-high heat to 350°F (175°C). Test by dropping in a panko crumb—it should sizzle immediately and turn golden in 30 seconds.
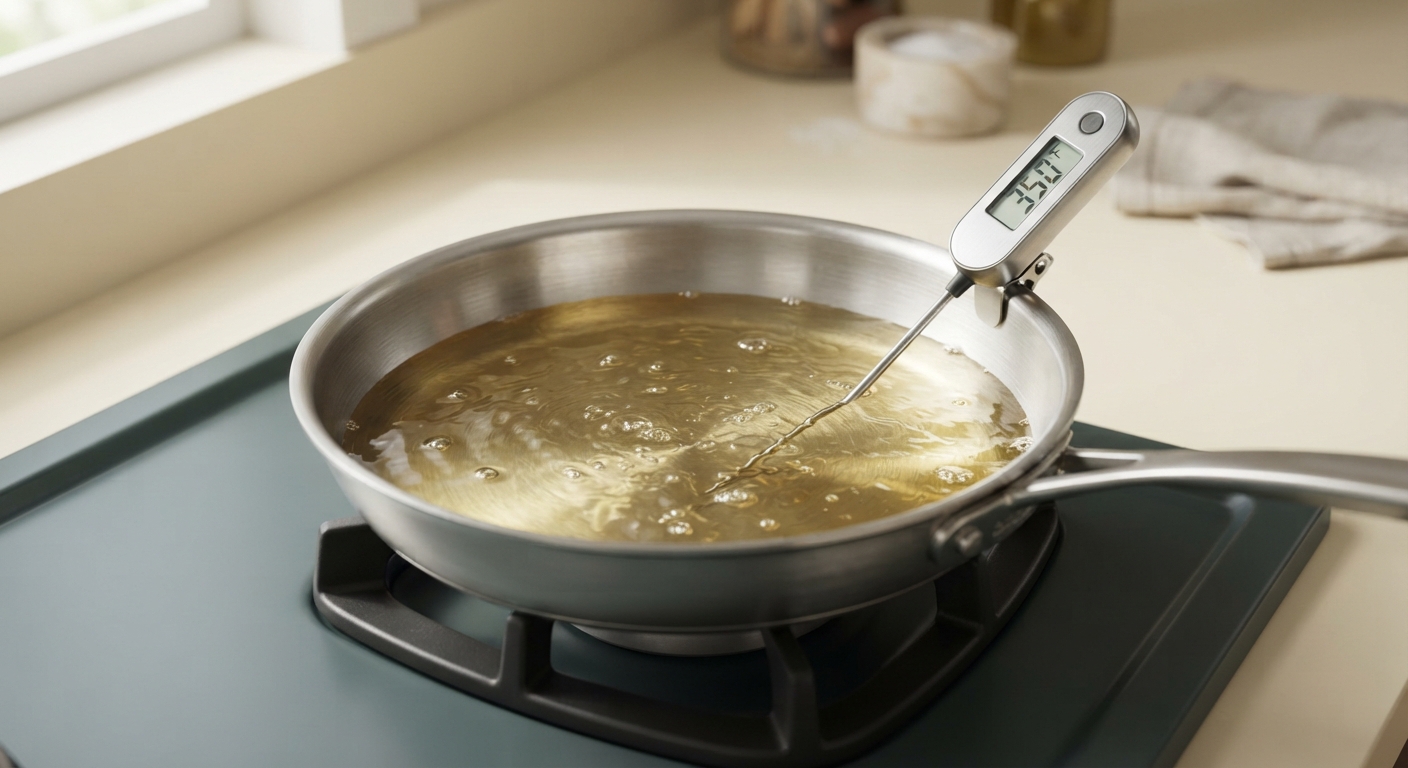 No thermometer? The wooden spoon trick works! Stick the handle of a wooden spoon in the oil. If bubbles form around it steadily, you're good to go. Too many bubbles = too hot. No bubbles = too cool.
-
Fry the Chicken to Golden Perfection
Carefully place 2 breaded chicken cutlets in hot oil, not crowding the pan. Fry 3-4 minutes per side until deep golden brown and internal temperature reaches 165°F. Transfer to wire rack set over paper towels.
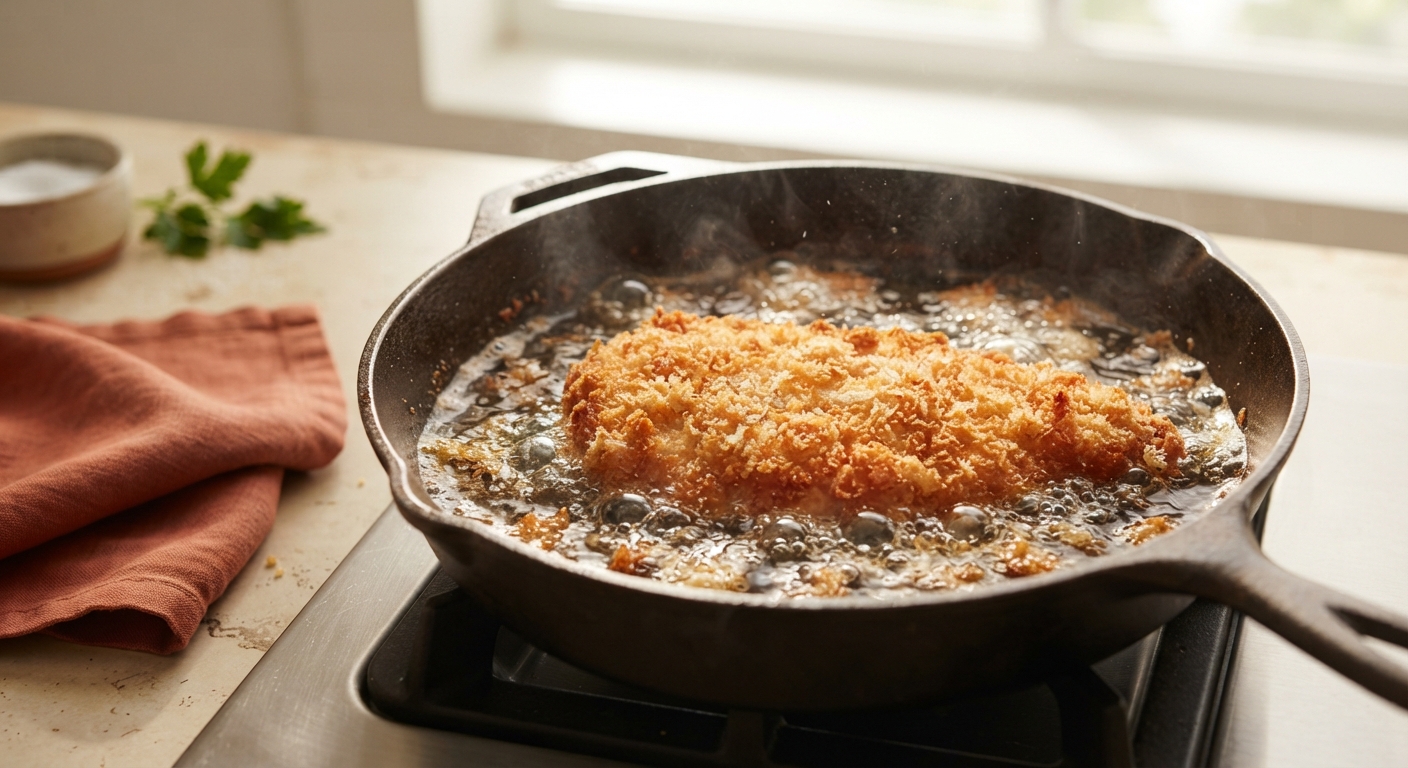 Don't overcrowd that pan! It drops the oil temperature and gives you soggy, greasy chicken. Cook in batches—it's worth the wait. And use that wire rack instead of just paper towels; it keeps the bottom crispy.
-
Whip Up the Tonkatsu Sauce
While chicken rests, whisk together ketchup, Worcestershire sauce, soy sauce, honey, and Dijon mustard in a small bowl until smooth. Taste and adjust sweetness if needed.
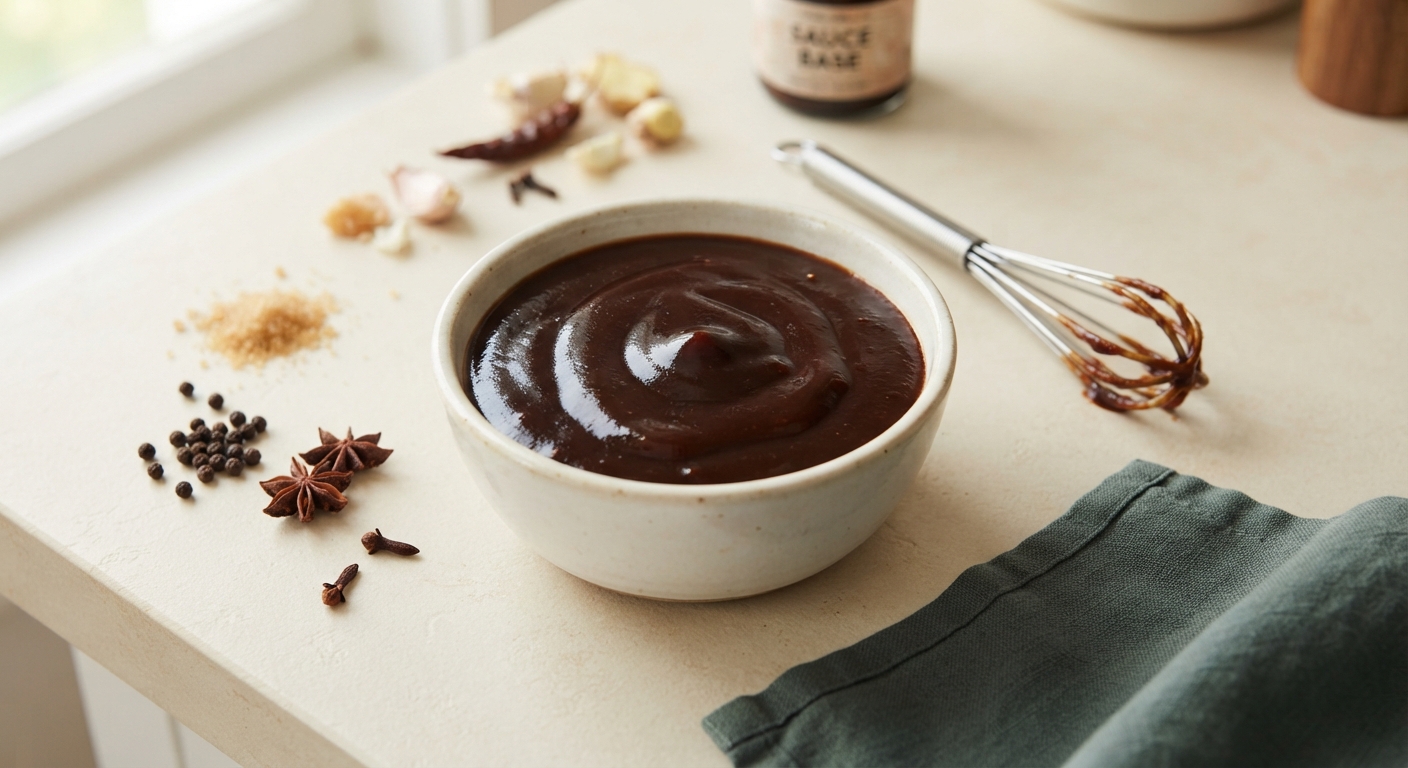 This sauce keeps in the fridge for weeks, so make extra! I double the recipe and use it on everything—pork chops, burgers, even as a dipping sauce for sweet potato fries. It's liquid gold.
-
Slice and Serve
Let chicken rest 2-3 minutes, then slice into 1-inch strips on a cutting board. Arrange on plates with rice and vegetables. Drizzle with tonkatsu sauce or serve on the side for dipping.
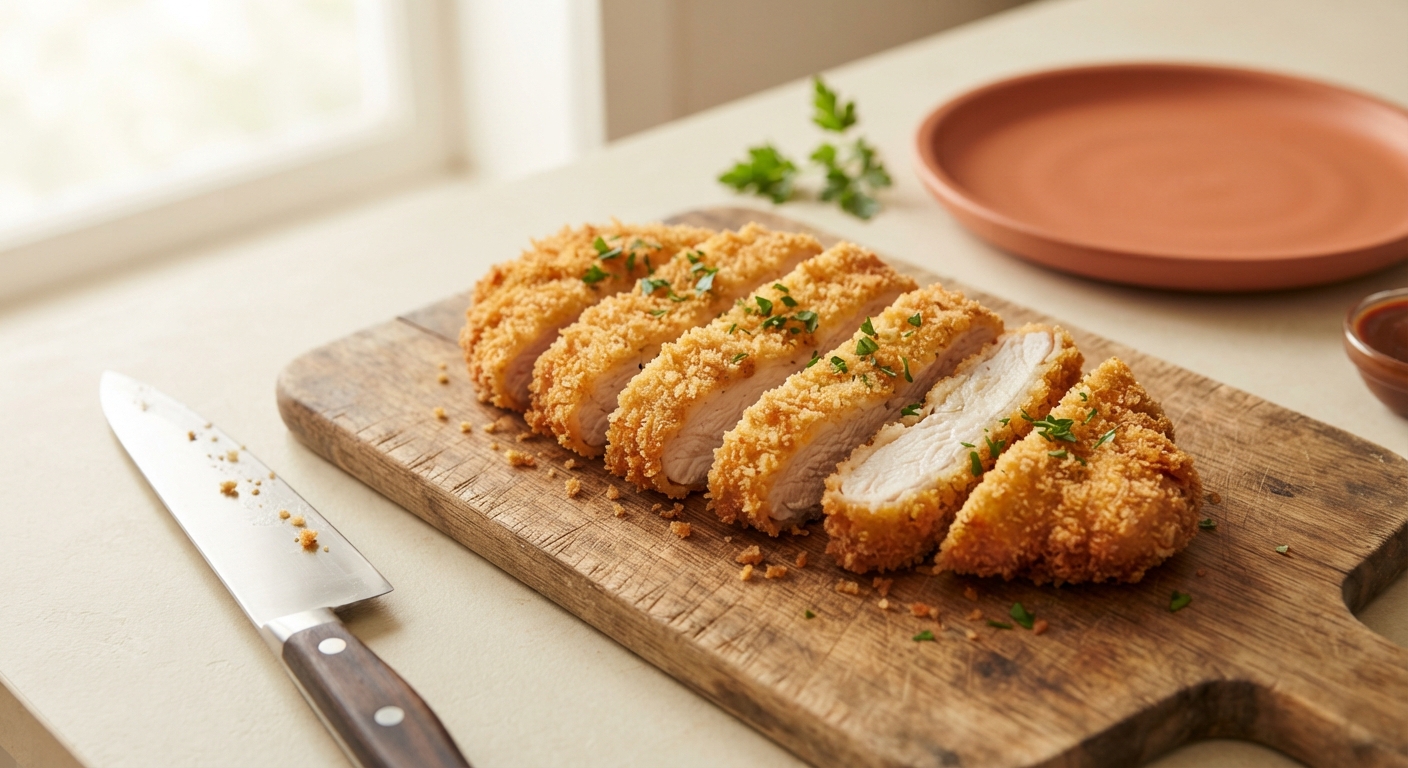 Slice against the grain for maximum tenderness. And don't skip that rest time! It lets the juices redistribute so they don't all run out when you cut into it. Patience pays off, friends.
Nutrition Facts
Nutrition Facts
Servings 4
Serving Size 1
- Amount Per Serving
- Calories 485kcal
- % Daily Value *
- Total Fat 15g24%
- Saturated Fat 3g15%
- Sodium 680mg29%
- Total Carbohydrate 38g13%
- Dietary Fiber 2g8%
- Sugars 8g
- Protein 42g84%
* Percent Daily Values are based on a 2,000 calorie diet. Your daily value may be higher or lower depending on your calorie needs.
Note
Substitutions:
- Chicken thighs work great if you prefer darker meat—just adjust cooking time
- Panko substitute: Crushed cornflakes or regular breadcrumbs (though panko is best for that signature crunch)
- Gluten-free: Use GF flour and tamari instead of soy sauce, plus GF panko
- Air fryer option: Spray breaded chicken with oil and air fry at 400°F for 10-12 minutes, flipping halfway
Storage: Store leftover chicken in an airtight container in the refrigerator for up to 3 days. Reheat in a 375°F oven for 10 minutes to restore crispiness (microwave will make it soggy). Sauce keeps for 2-3 weeks refrigerated.
Make-Ahead: Bread the chicken up to 4 hours ahead and refrigerate on a wire rack. Let come to room temperature for 10 minutes before frying. You can also freeze breaded (unfried) chicken for up to 1 month—fry straight from frozen, adding 2-3 minutes to cooking time.