
There’s a moment in every home cook’s life when you stare into the fridge, spot a container of leftover BBQ chicken, a half-empty box of elbow pasta, and a block of cheddar that’s been silently judging you for three days — and something magical happens. You stop seeing leftovers and start seeing destiny.
That’s exactly how BBQ Chicken Mac and Cheese was born. Not in some fancy test kitchen with tweezers and foam. Nope. It was born on a random Tuesday, when my kids were hungry, I was tired, and the takeout menu was looking dangerously tempting. I said, “Not tonight,” grabbed a skillet, and threw together what has since become the most-requested dinner in the Bennett household. And yes, that includes my famous chili. Don’t tell the chili.
Why This Recipe Is Absolute Genius

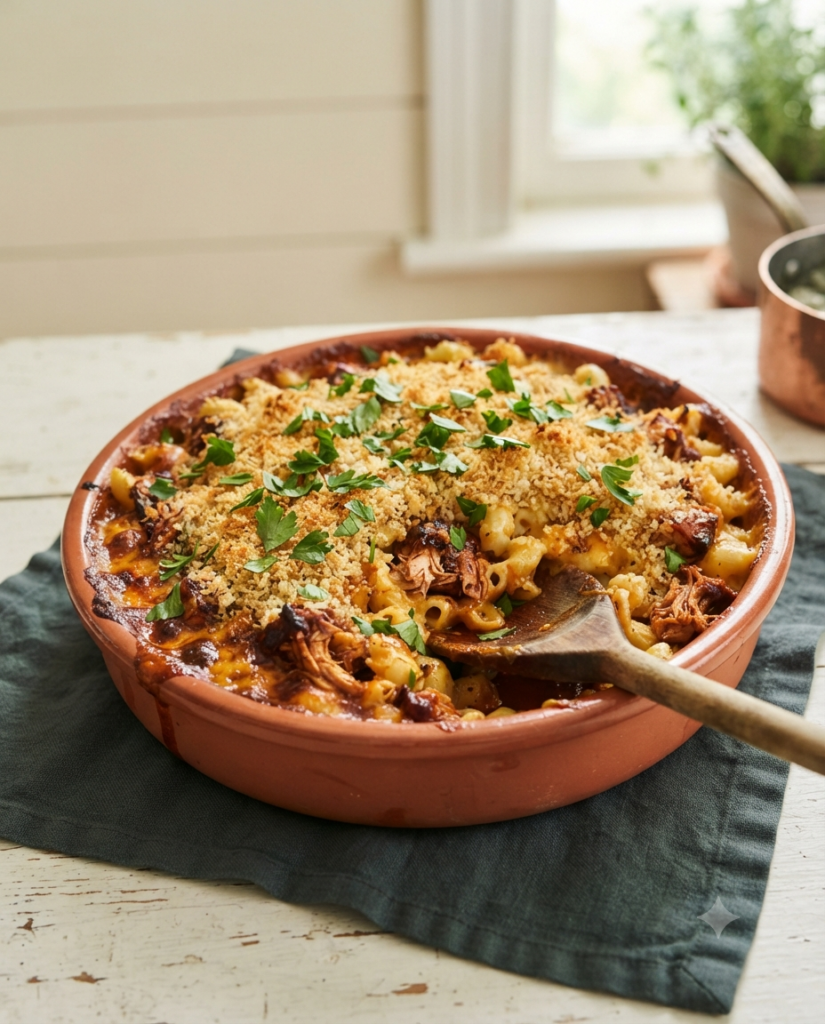
Here’s the deal: mac and cheese is comfort food royalty. BBQ chicken is backyard royalty. When you marry the two, you get a dish that’s smoky, creamy, tangy, and deeply satisfying — all in under 45 minutes. We’re talking tender chicken coated in your favorite BBQ sauce, folded into a velvety three-cheese sauce with perfectly cooked pasta, then finished with a crispy breadcrumb topping that crackles when you break through it with a fork. It’s the kind of meal that makes people close their eyes and go quiet. The good kind of quiet.

Why It Actually Works (The Science of Comfort)
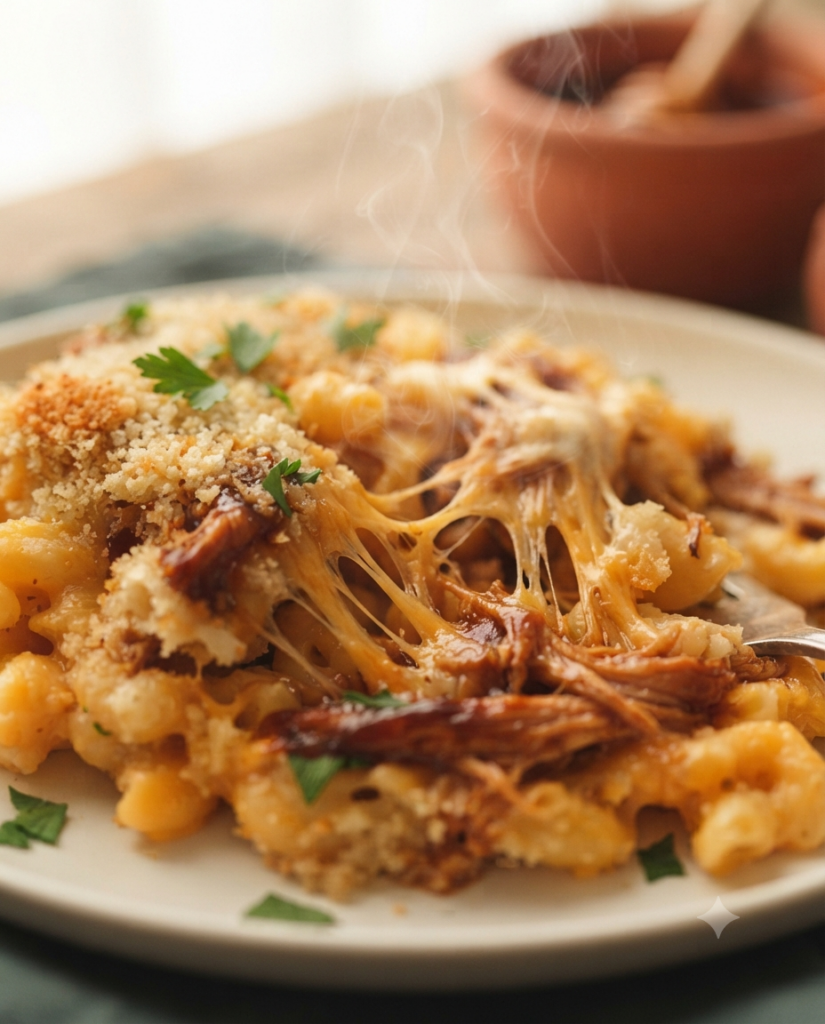
The magic here is balance. BBQ sauce brings sweetness and smoke. Sharp cheddar brings tang. Cream cheese adds silkiness. The breadcrumb topping adds crunch. Every single bite hits a different note, and that’s why you’ll keep going back for more. It’s also incredibly forgiving — swap the chicken, change the cheese, use a different pasta shape — and it still comes out singing.
Whether you’re feeding a crew of hungry teenagers, meal-prepping for the week, or just treating yourself after a long day, this BBQ Chicken Mac and Cheese is your new go-to. Trust me on this one. I’ve made it more times than I’ve done laundry, and that’s saying something.
BBQ Chicken Mac and Cheese: The Comfort Food Mashup You Didn’t Know You Needed
Description
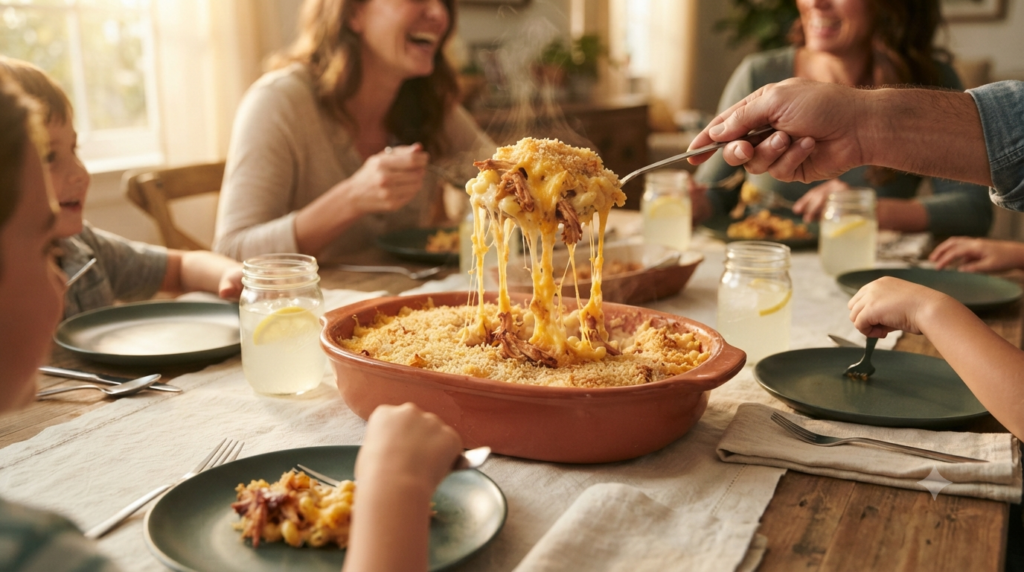
Tender shredded chicken tossed in smoky BBQ sauce meets a velvety three-cheese pasta, all crowned with a crispy panko topping. Ready in under 45 minutes, this easy, family-friendly dinner is the ultimate comfort food mashup that turns simple ingredients into a weeknight masterpiece.
Ingredients
For the Pasta
For the BBQ Chicken
For the Cheese Sauce
For the Crispy Topping
Instructions
-
Cook the Pasta
Bring a large pot of salted water to a rolling boil. Cook the elbow macaroni according to package directions, but pull it out 1 minute before al dente — it'll finish cooking in the oven later. Drain, toss with a tiny drizzle of oil so it doesn't stick, and set aside.
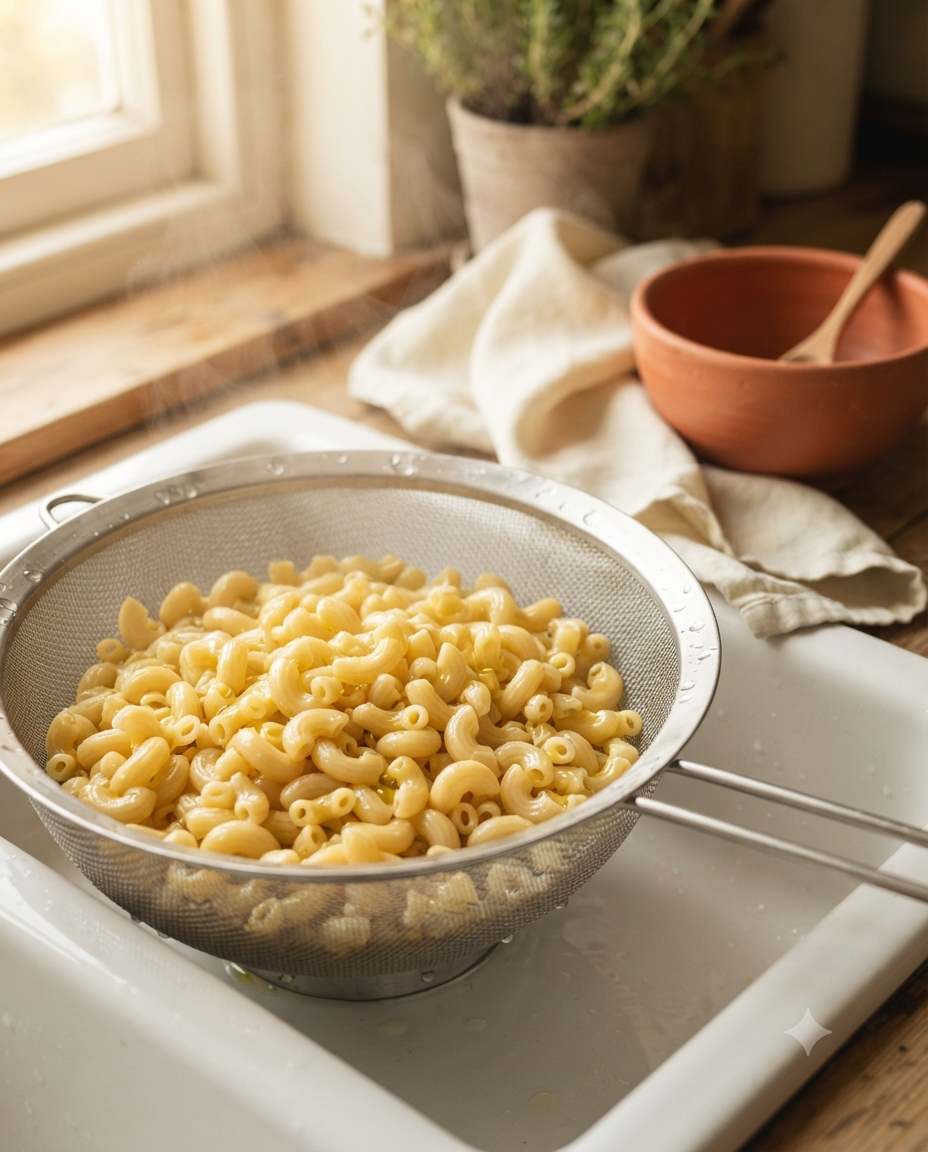 Never rinse your pasta after draining! That starchy surface is what helps the cheese sauce cling to every single noodle. Rinsing is a crime against creaminess.
-
Prepare the BBQ Chicken
Heat olive oil in a large skillet over medium heat. Add the shredded chicken and BBQ sauce, stirring to coat every piece evenly. Cook for 3–4 minutes until warmed through and slightly caramelized at the edges. Remove from heat and set aside.
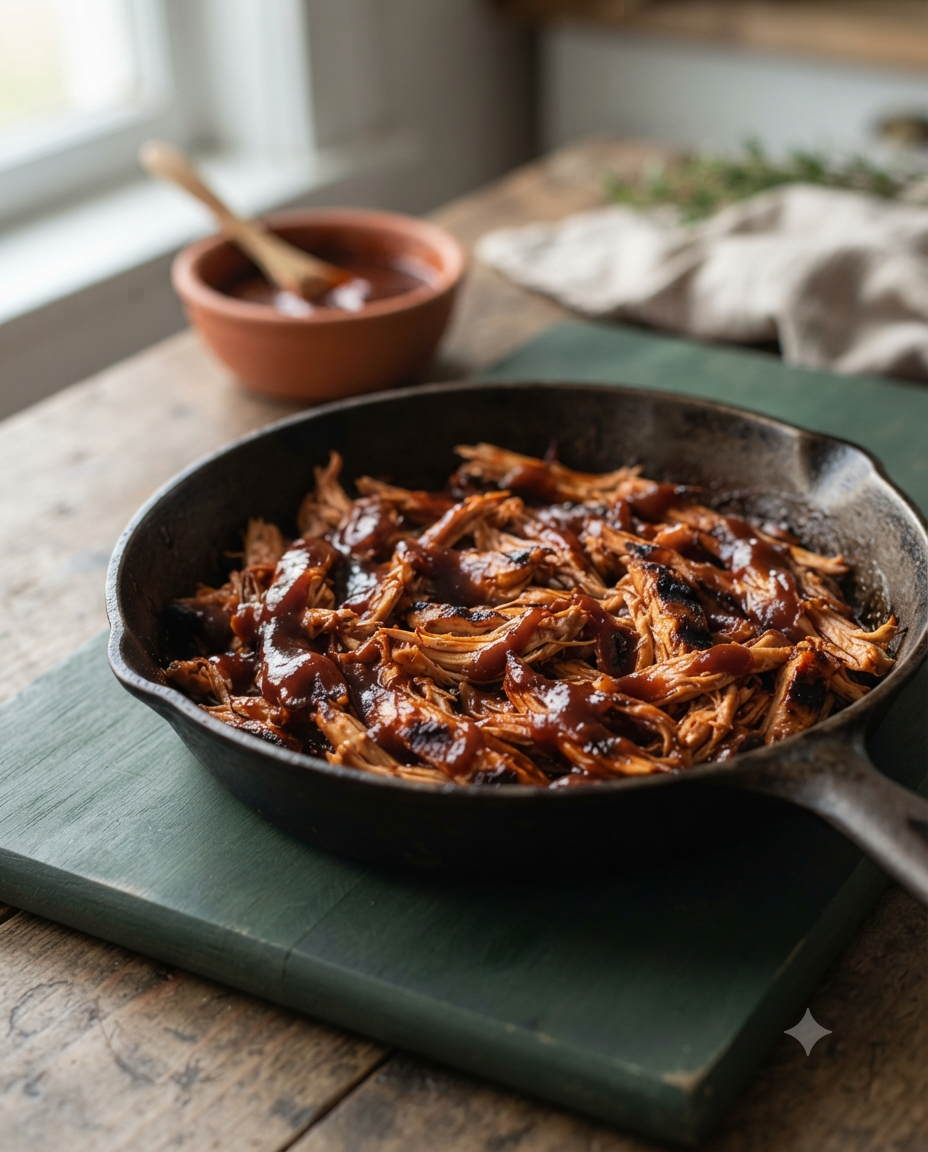 Rotisserie chicken from the grocery store is a total cheat code here. Saves you 30 minutes and honestly tastes even better because it's already seasoned. No shame — only smart cooking.
-
Make the Roux
In a large heavy-bottomed pot or Dutch oven, melt the butter over medium heat. Sprinkle in the flour and whisk constantly for 2 minutes until it turns a light golden color and smells nutty. Don't walk away — roux waits for no one!
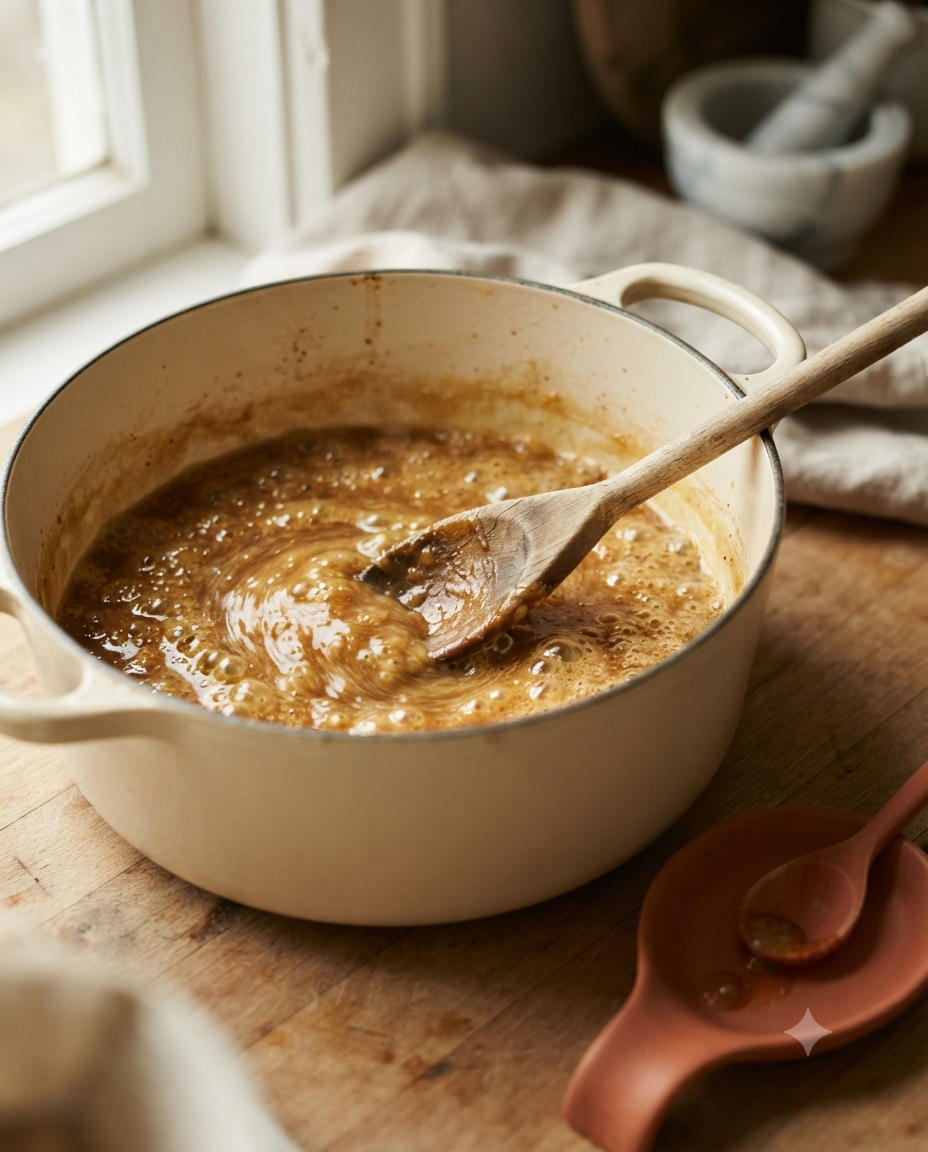 The roux is the backbone of your sauce. If it smells like raw flour, keep cooking. If it smells like cookies baking next door, you've nailed it. That's your cue to add the milk.
-
Build the Cheese Sauce
Slowly pour in the warmed milk, whisking constantly to prevent lumps. Cook for 4–5 minutes until the sauce thickens enough to coat the back of a spoon. Reduce heat to low. Stir in the smoked paprika, garlic powder, onion powder, salt, pepper, and cayenne. Then add the grated cheddar, cream cheese, and smoked gouda in handfuls, stirring until completely melted and silky smooth.
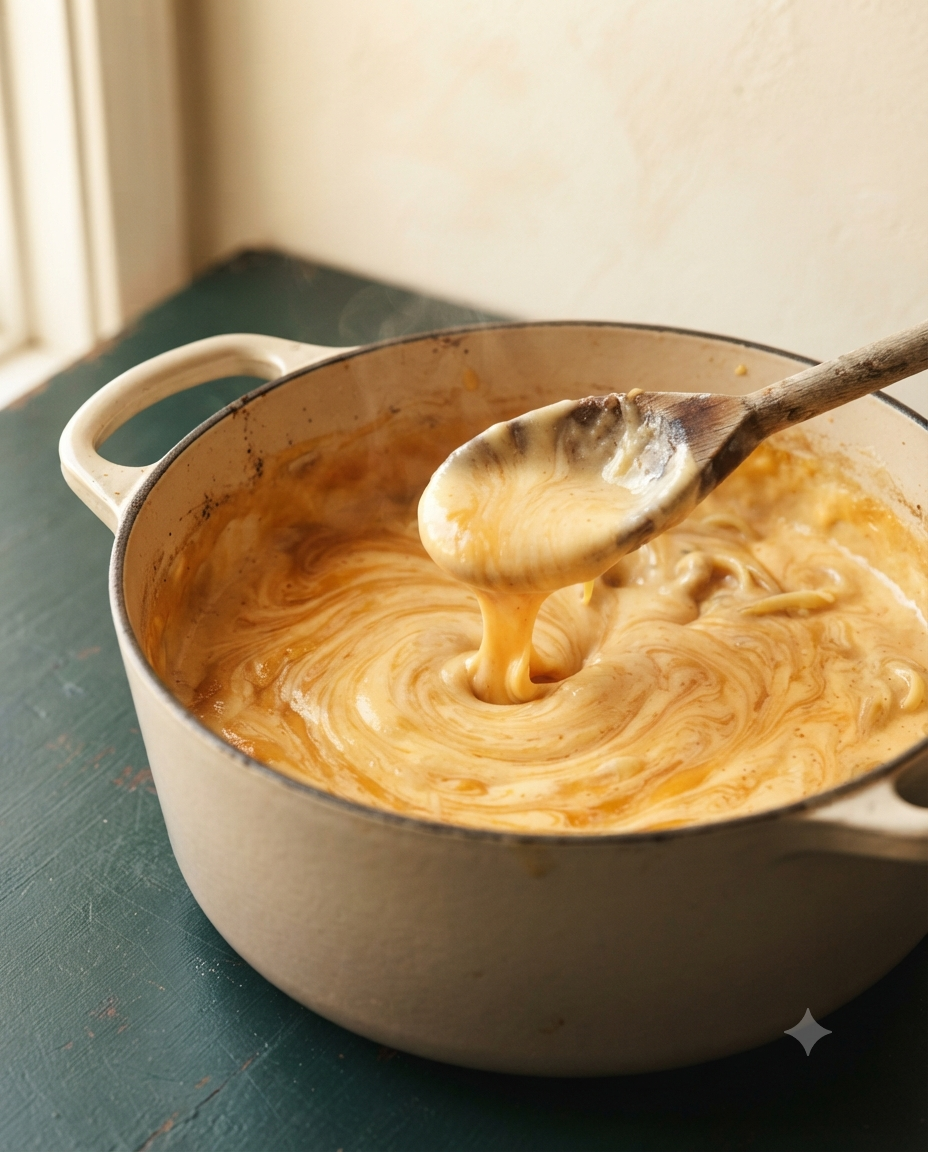 Always grate your cheese from a block. Pre-shredded cheese is coated in anti-caking powder that makes your sauce grainy instead of gorgeous. Two minutes of grating saves you from sad, lumpy sauce.
-
Combine Everything
Fold the drained pasta and BBQ chicken into the cheese sauce. Stir gently until every noodle is coated and the chicken is evenly distributed throughout. Taste and adjust seasoning — this is your moment to add more salt, pepper, or even a splash more BBQ sauce if you're feeling bold.
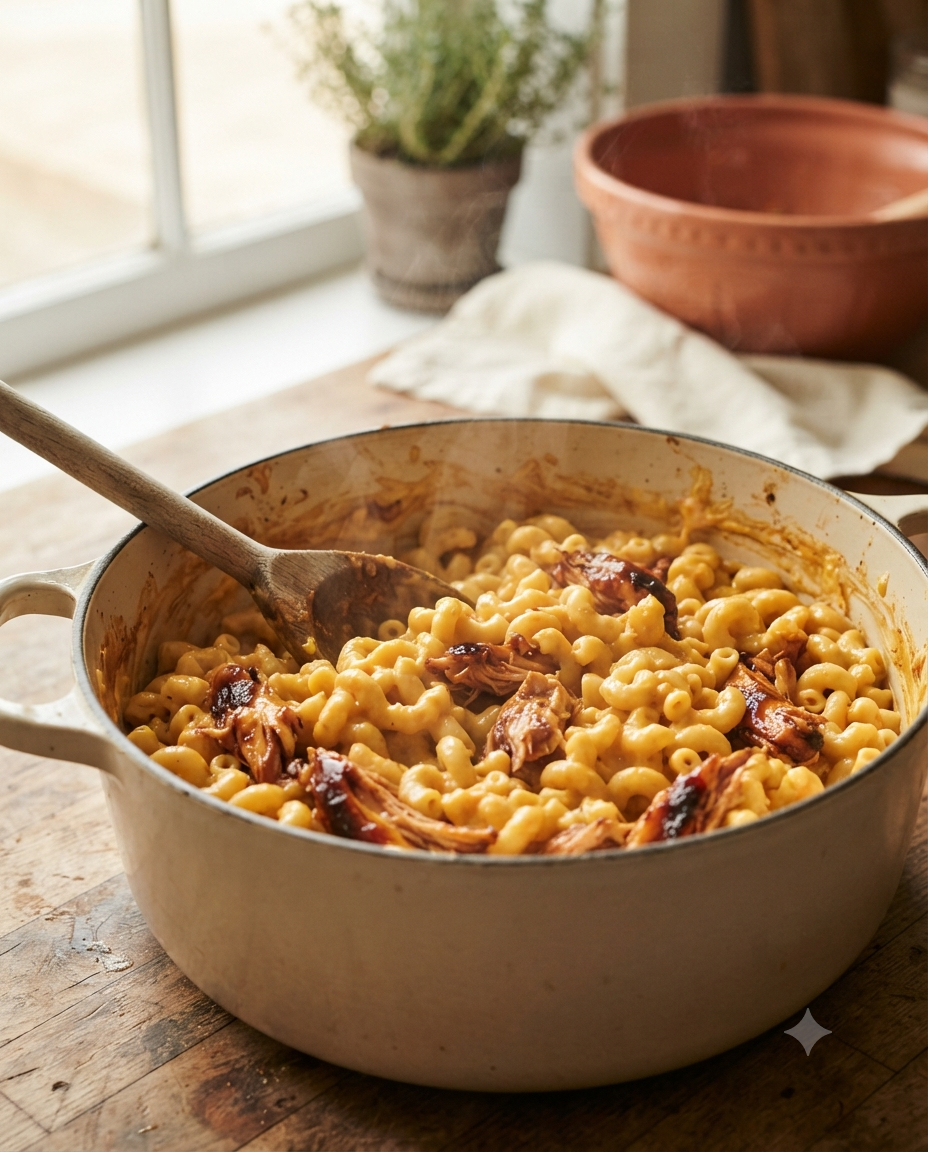 This is where you become the boss of your dinner. Taste it. If it needs more smoke, add paprika. More tang? A squeeze of hot sauce. Cooking is just edible problem-solving, and you're winning.
-
Prepare the Topping and Bake
Preheat your oven to 190°C (375°F). Transfer the mac and cheese to a greased 9x13-inch baking dish. In a small bowl, mix the panko breadcrumbs, parmesan, and melted butter until it looks like wet sand. Scatter the topping evenly over the mac and cheese. Bake for 20–25 minutes until the topping is golden brown and the edges are bubbling.
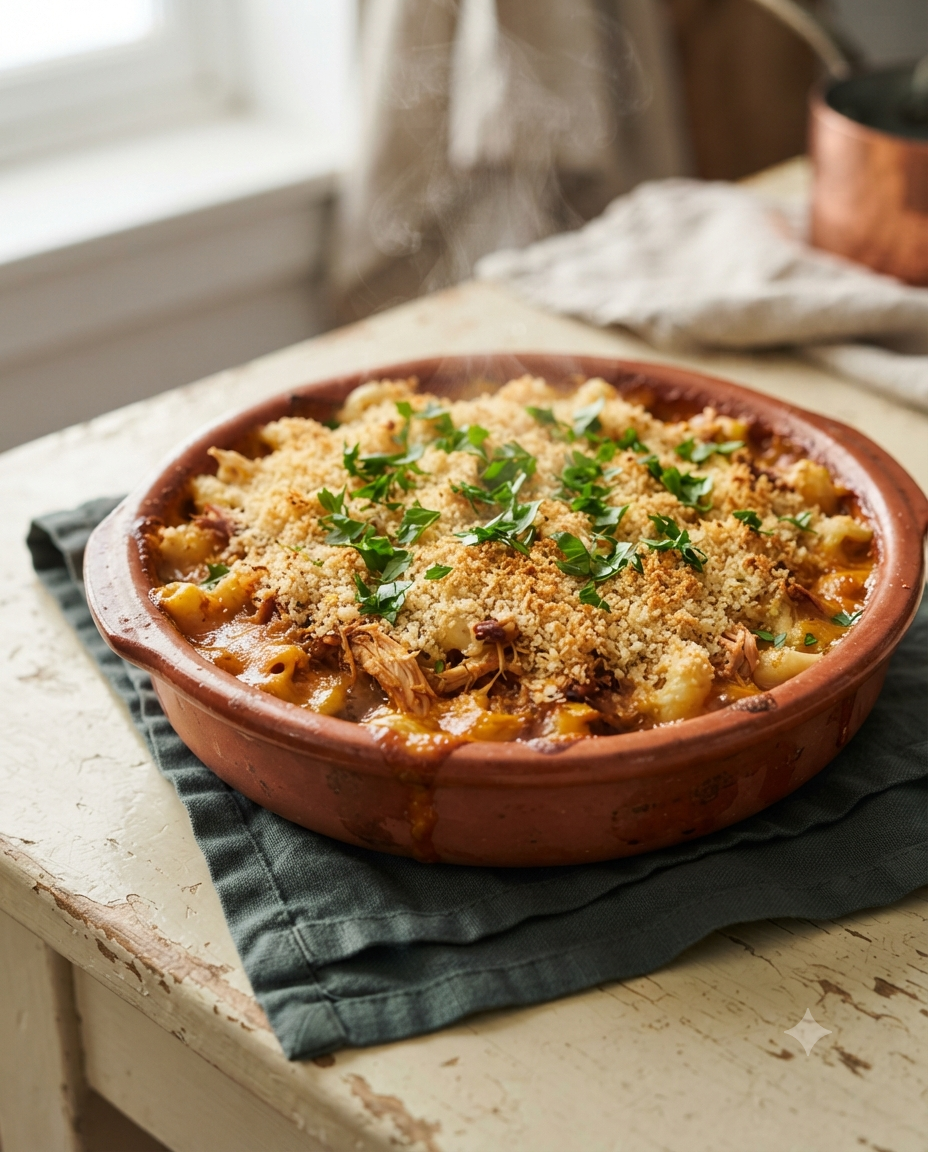 Want an extra-glorious crust? Broil for the last 2 minutes — but WATCH it like a hawk. The difference between "perfectly golden" and "charcoal briquette" is about 45 seconds. I've learned this the hard way. Twice.
-
Rest, Garnish, and Devour
Let the dish rest for 5 minutes (I know, it's torture). Sprinkle with fresh parsley, drizzle a little extra BBQ sauce on top if you're feeling fancy, and serve immediately. Watch your family's eyes get wide. Accept your new title as household hero.
 The rest period lets the sauce set just enough so each serving holds together beautifully instead of being a soupy mess. Patience here is delicious.
Nutrition Facts
Nutrition Facts
Servings 6
Serving Size 1
- Amount Per Serving
- Calories 620kcal
- % Daily Value *
- Total Fat 14g22%
- Saturated Fat 14g70%
- Cholesterol 95mg32%
- Sodium 890mg38%
- Total Carbohydrate 58g20%
- Dietary Fiber 2g8%
- Sugars 12g
- Protein 34g68%
* Percent Daily Values are based on a 2,000 calorie diet. Your daily value may be higher or lower depending on your calorie needs.
Note
Substitutions:
- Chicken: Swap with pulled pork, smoked sausage, or crispy bacon for a different twist. Vegetarians can use roasted chickpeas or jackfruit with BBQ sauce.
- Cheese: Pepper jack adds heat. White cheddar is milder. Gruyère makes it feel fancy (and honestly, it's incredible).
- Pasta: Cavatappi, shells, or penne all hold sauce beautifully. Avoid thin pasta like angel hair — it'll get lost.
- Gluten-Free: Use GF pasta and swap the flour for a 1:1 GF flour blend. Use GF panko for the topping.
Storage:
- Store leftovers in an airtight container in the fridge for up to 4 days.
- The sauce will thicken when cold — add a splash of milk when reheating to bring back the creaminess.
Reheating:
- Oven (best method): Cover with foil and bake at 175°C (350°F) for 20 minutes, adding a splash of milk.
- Microwave (fastest): Heat in 60-second intervals, stirring between each, with a tablespoon of milk.
Make-Ahead:
- Assemble the entire dish (without baking) up to 24 hours in advance. Cover tightly and refrigerate. When ready, bake at 190°C (375°F) for 30–35 minutes (add 10 extra minutes since it's cold from the fridge). Add the breadcrumb topping right before baking for maximum crunch.
Freezer-Friendly:
- Freeze the unbaked dish for up to 3 months. Thaw overnight in the fridge, then bake as directed. The breadcrumb topping should be added fresh before baking.