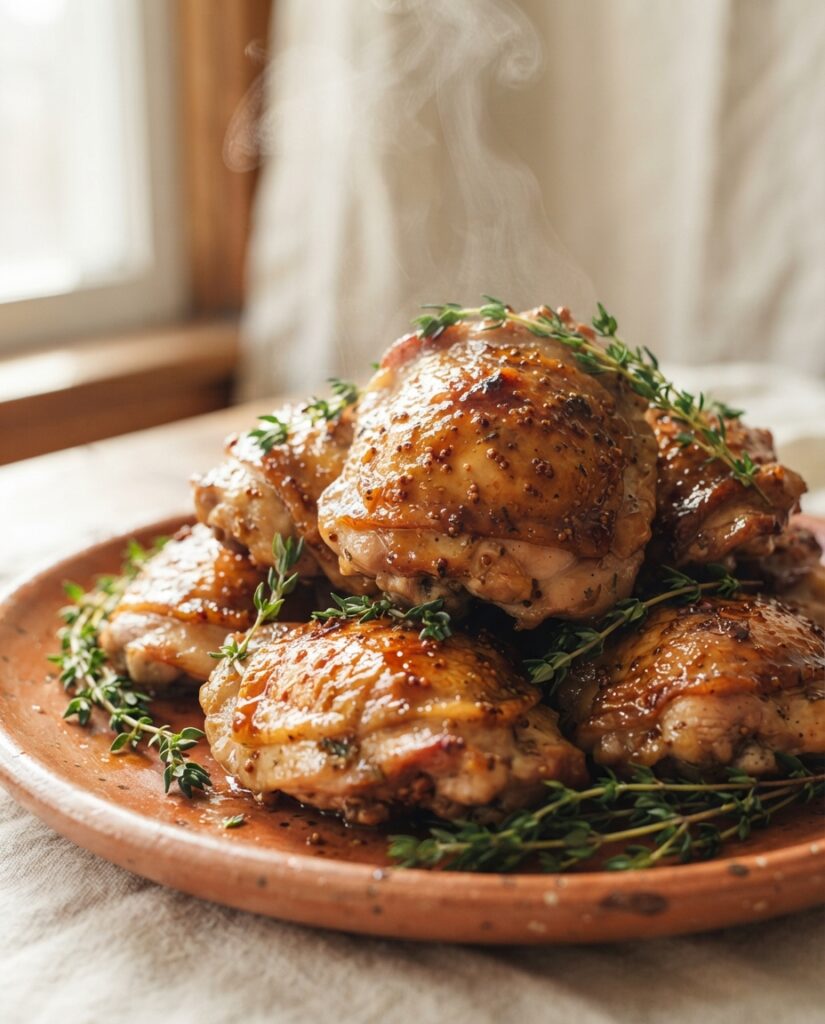
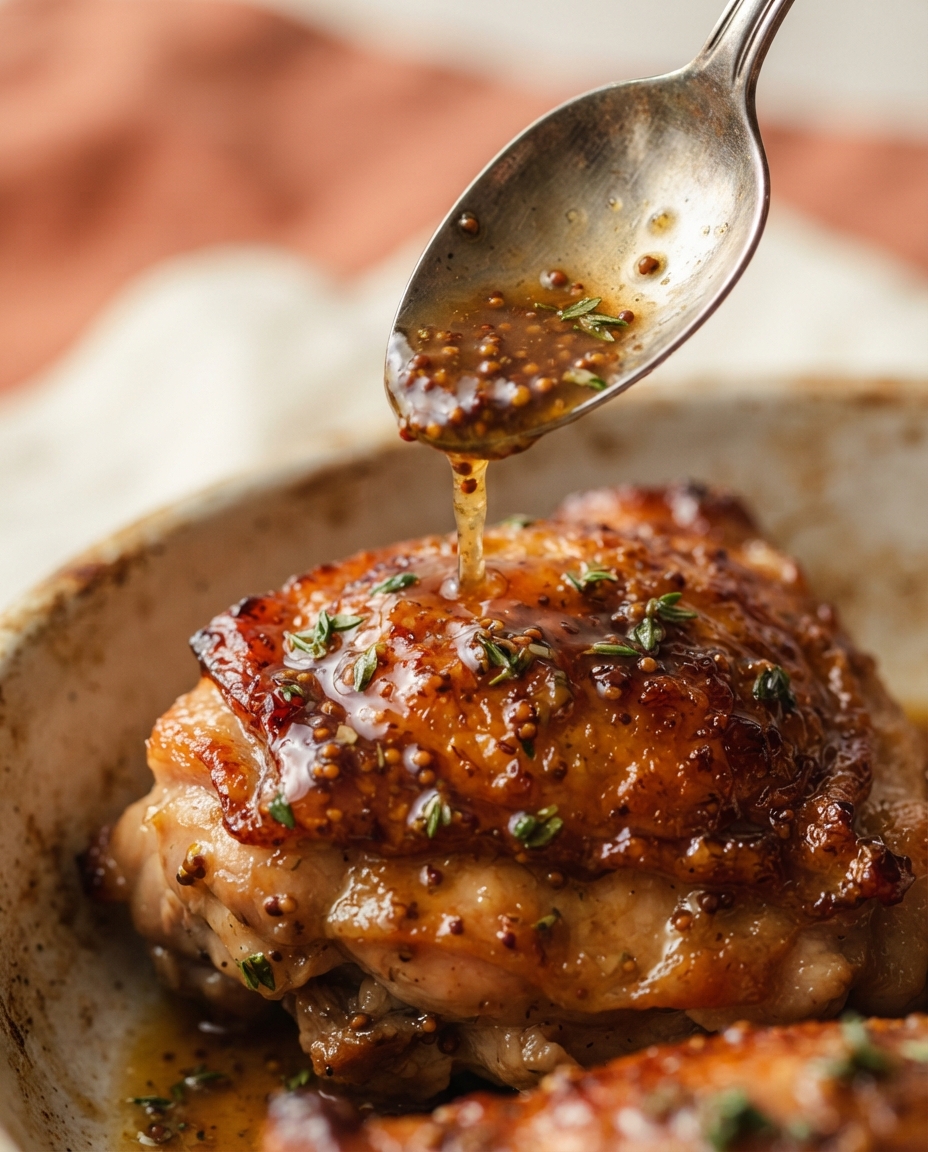
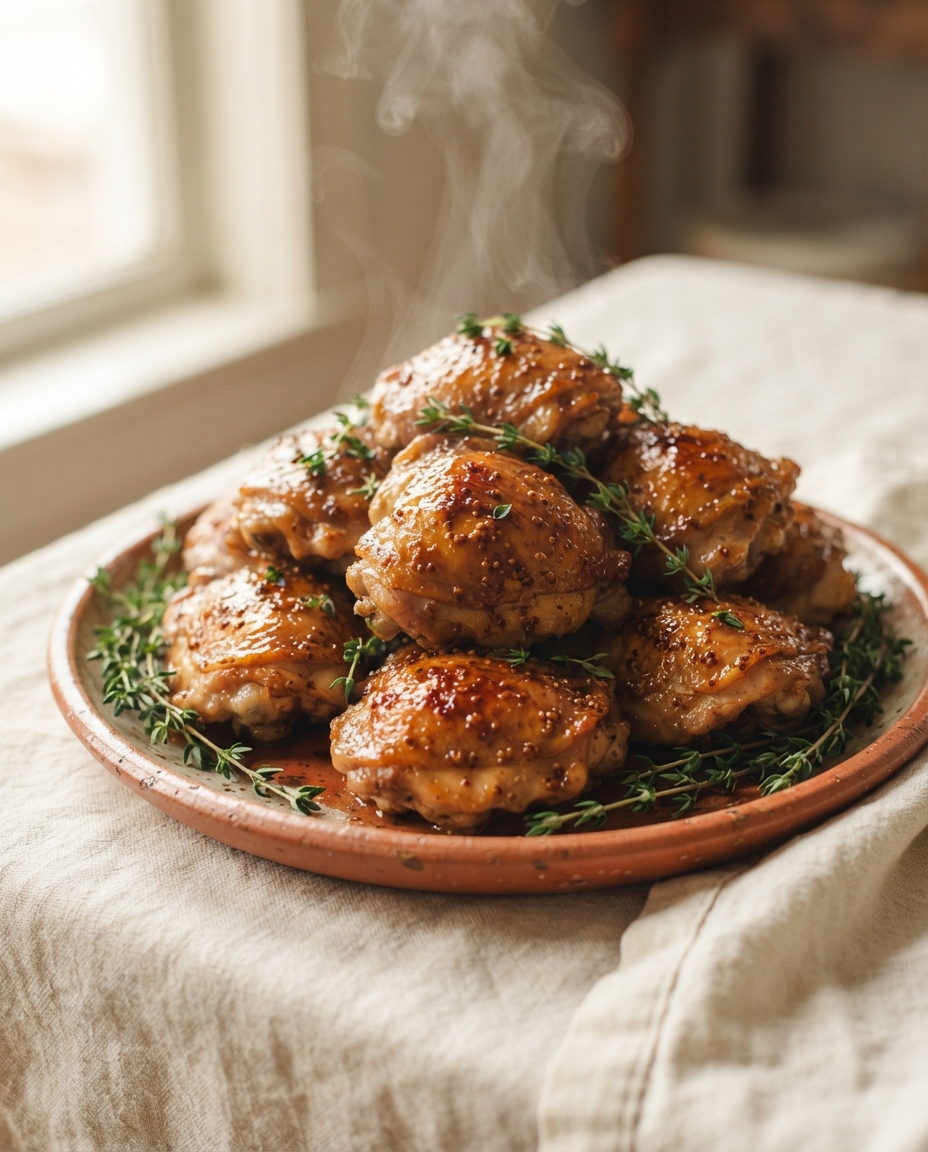
Let's be real for a second: by Thursday night, most of us are running on "freezer roulette" chicken. You bake it, you grill it, you drown it in the same sad bottle of barbecue sauce, and everyone at the table — including you — is a little bit bored. Friend, put the bottle down. These Maple Dijon Roasted Chicken Thighs are about to become the most-requested dinner in your house, and they take roughly ten minutes of actual effort.
Why This Flavor Combo Is Pure Genius
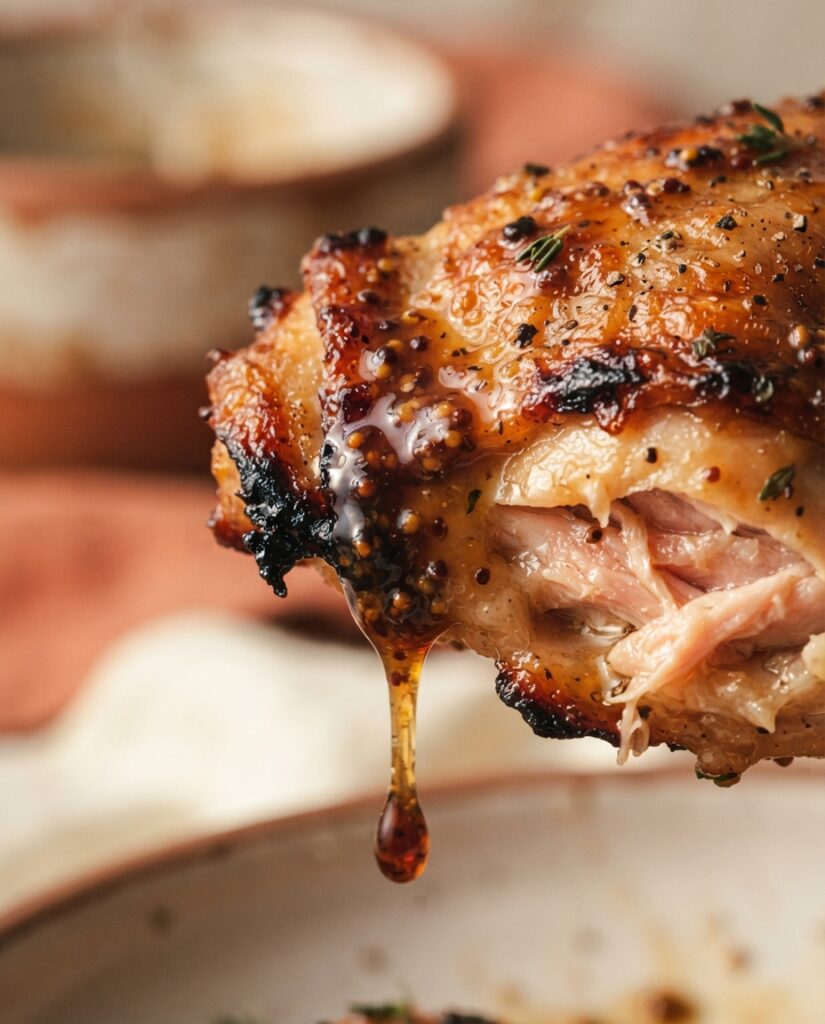
Maple brings sweet, toasty depth. Dijon brings sharp, vinegary attitude. Together, they balance each other the way peanut butter balances jelly — except this pair grows up and gets a crispy edge. In a hot oven, maple's natural sugars caramelize into a sticky, lacquered glaze, while the mustard's tang keeps every bite tasting bright instead of cloying. Add garlic and a whisper of thyme, and you've got a sauce that tastes like it came off a bistro menu, not out of a Tuesday-night panic.
A Little History in Every Bite
This pairing isn't some trendy food-blog invention (I wish I'd trademarked it). Maple and mustard have been best friends in French-Canadian and New England kitchens for generations, usually painted onto ham or salmon around harvest time. I stumbled into my version one rainy Tuesday when a grocery run was absolutely not happening and the pantry offered up exactly one bottle of maple syrup and a lonely jar of Dijon. One crispy, sticky bite later, my kids asked for it "again, but with more of the shiny stuff." That is the highest culinary award I have ever received.
Why It Works (Even for Total Beginners)
Bone-in, skin-on thighs are the most forgiving cut in the meat case — nearly impossible to dry out, budget-friendly, and packed with flavor. A hot oven renders the fat so the skin crisps while the meat stays juicy. One sheet pan, no flipping marathons, no fancy tools. If you can whisk four ingredients and own paper towels, you can make this.
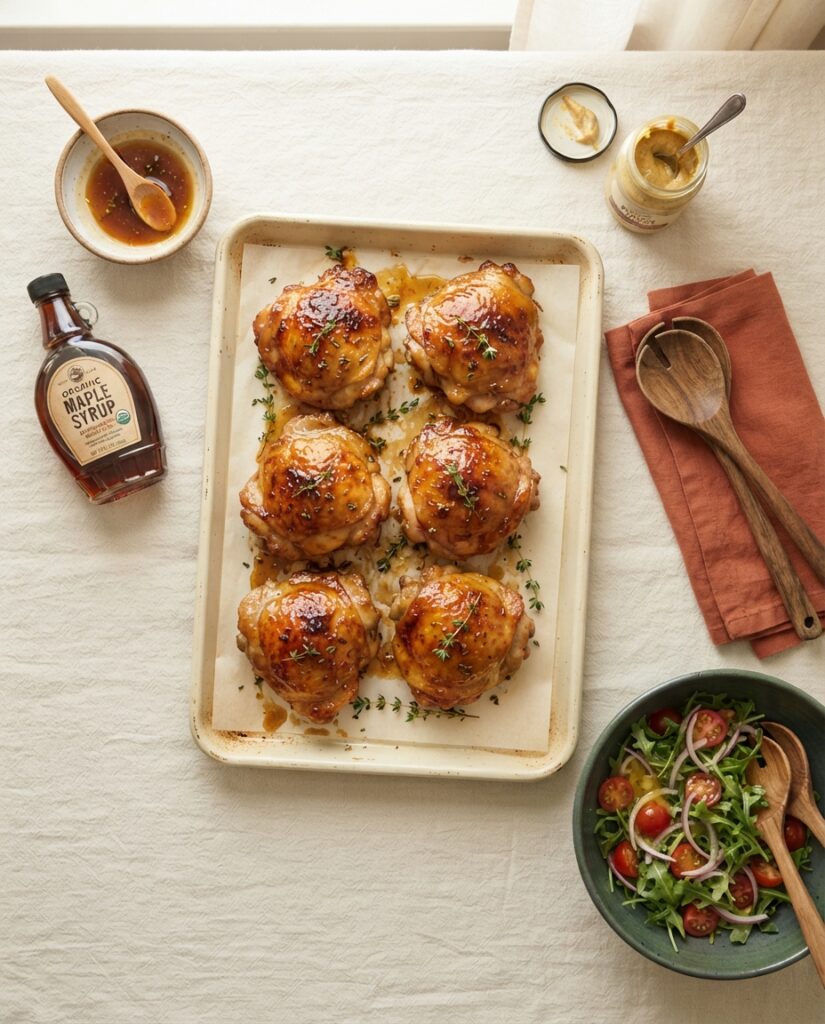
Juicy bone-in chicken thighs roasted under a glossy maple Dijon glaze until caramelized and crispy. Only 10 minutes of hands-on time, one sheet pan, and simple pantry ingredients — perfect for busy weeknights and meal prep alike.
1teaspoon fresh thyme leaves (or ½ tsp dried thyme)
1pinch cayenne pepper (optional, for a little kick)
For Garnish (Optional but Pretty)
1tablespoon fresh thyme or chopped parsley
Instructions
1
Preheat and Pat the Chicken Bone-Dry
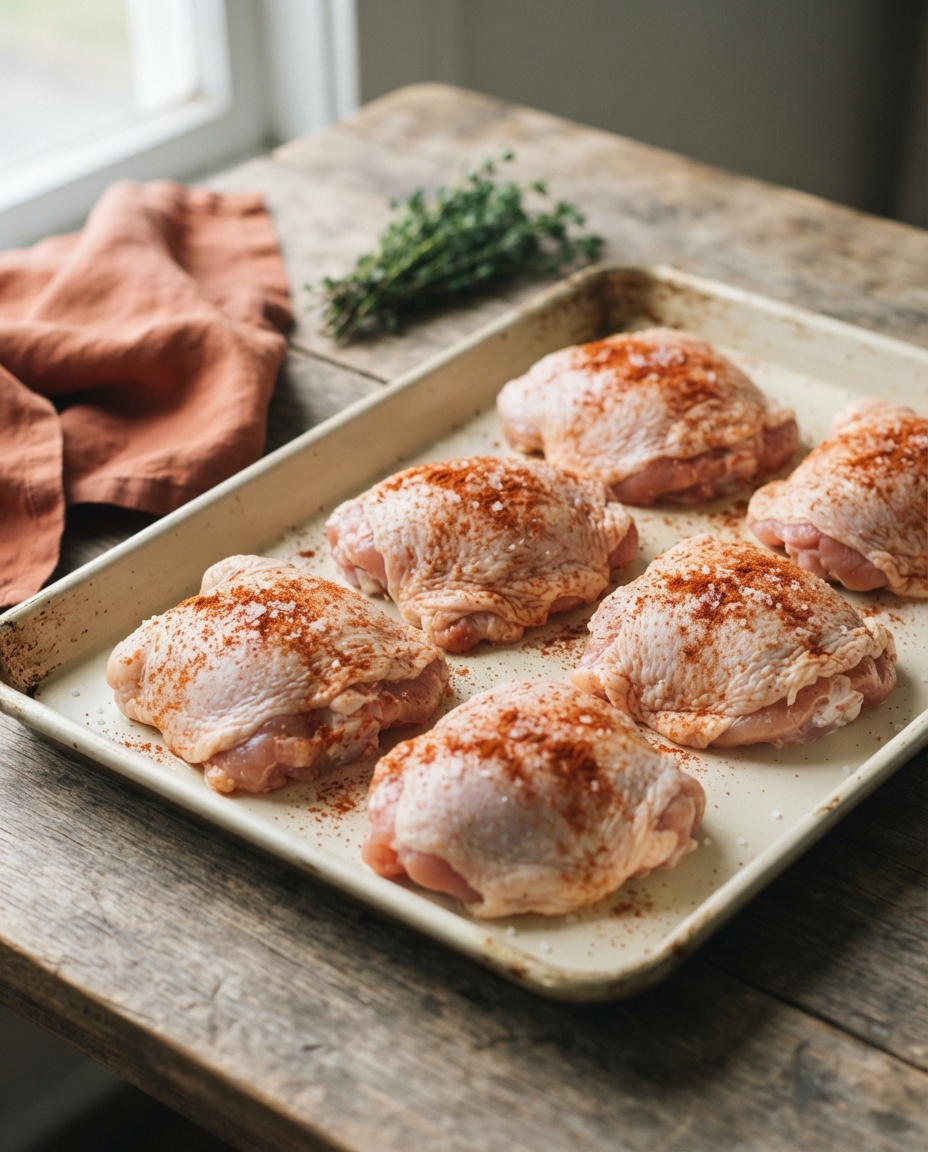
Preheat your oven to 425°F and line a rimmed sheet pan with foil or parchment for easy cleanup. Pat the chicken thighs completely dry with paper towels, then drizzle with olive oil and sprinkle all over with salt, pepper, garlic powder, and paprika. Arrange them skin-side up on the pan with a little space between each piece.
Moisture is the enemy of crispy skin. I press the paper towel right down and count to three on each thigh — ten seconds of patting now pays off in crackly skin later.
2
Whisk the 5-Minute Maple Dijon Glaze
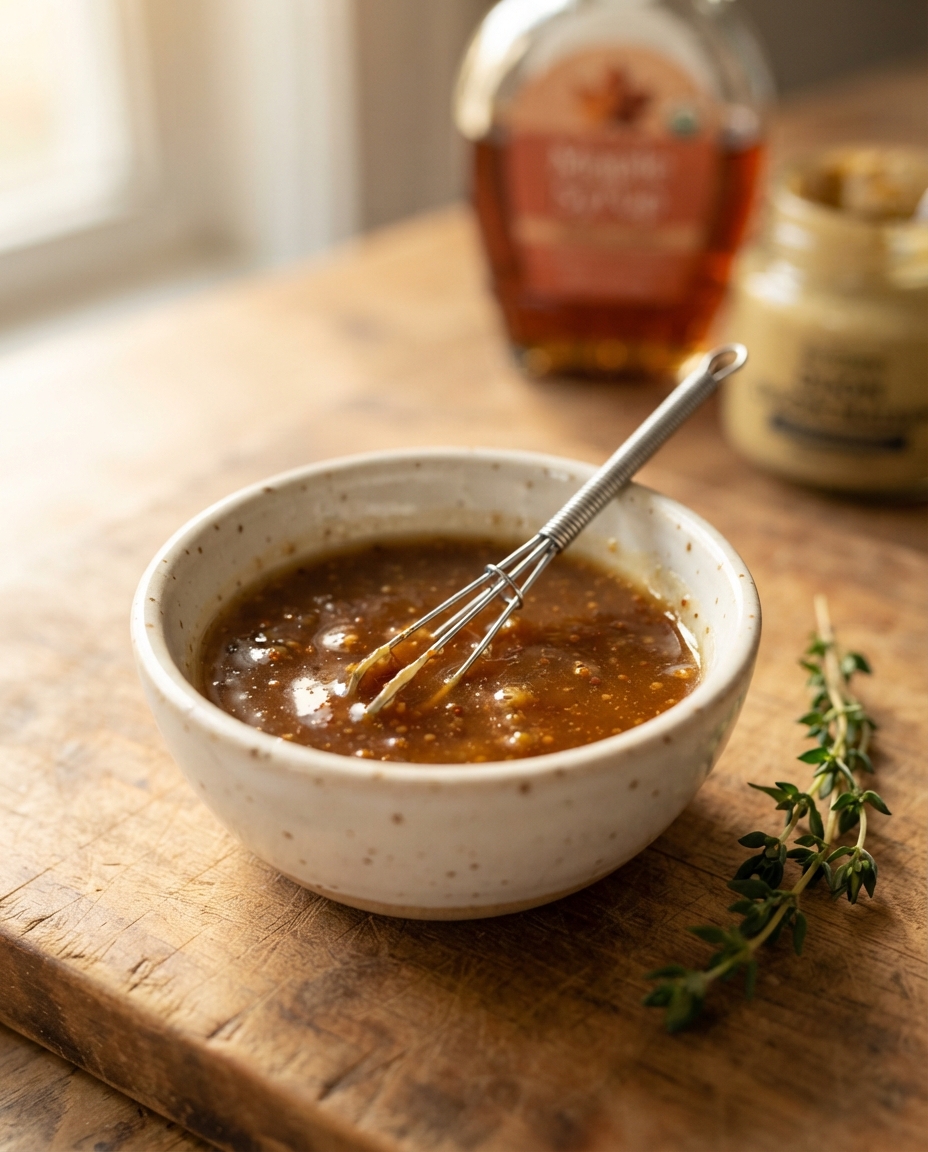
While the oven heats, whisk together the maple syrup, Dijon mustard, minced garlic, apple cider vinegar, thyme, and cayenne in a small bowl until smooth and glossy. That's it. You just made a bistro sauce in your pajamas.
Use 100% pure maple syrup, not "pancake syrup" — the fake stuff is mostly corn syrup and it burns instead of caramelizing. Real maple is the whole magic trick here.
3
Brush On Half the Glaze (Save the Rest!)
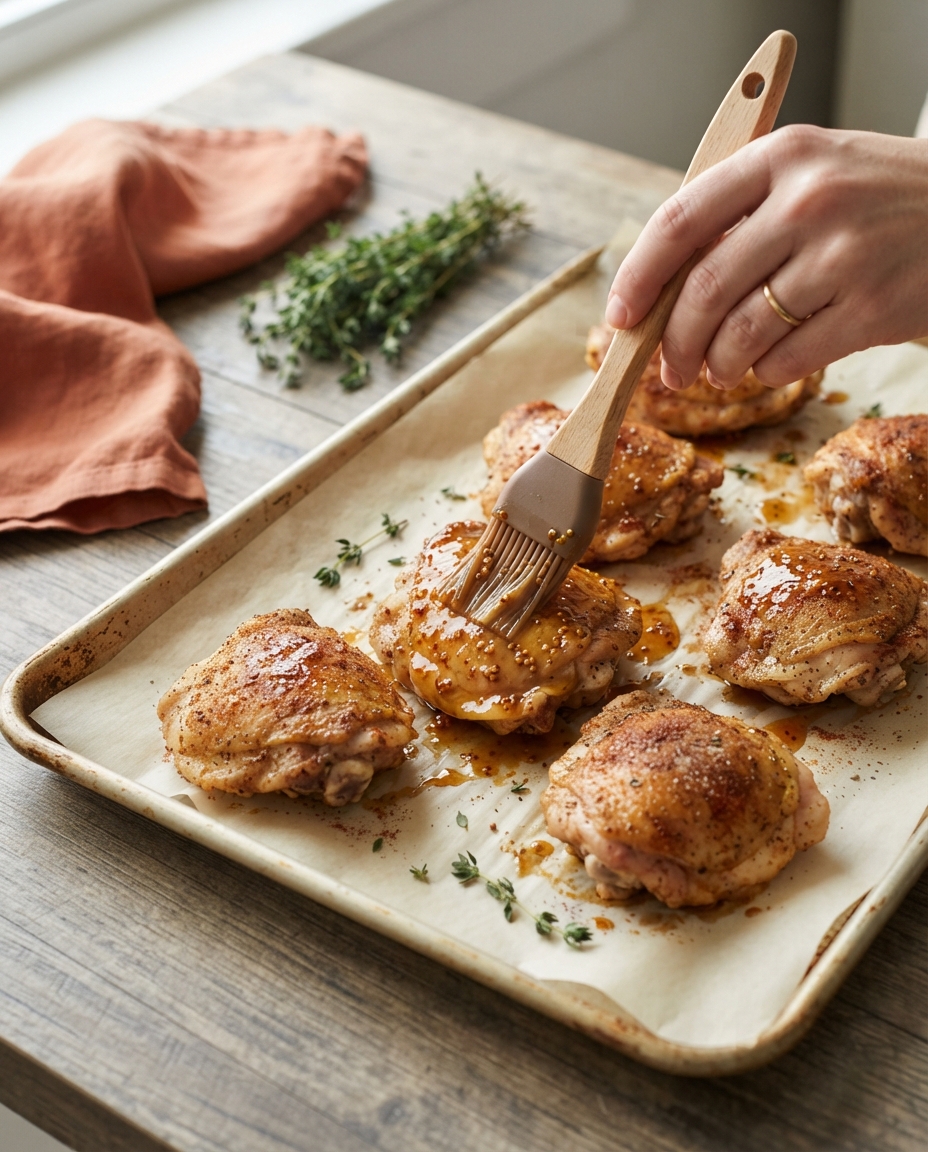
Brush a thin, even layer of the glaze over the tops of the thighs, getting into the nooks and crannies. Pour the remaining half into a small bowl and set it aside — do NOT use it all now, no matter how good it smells.
Maple sugar loves to burn if it's on too early. A light first coat protects the skin while it crisps, and the reserved glaze goes on at the end for that sticky, glossy, "restaurant shine" finish.
4
Roast Until Golden and Bubbling
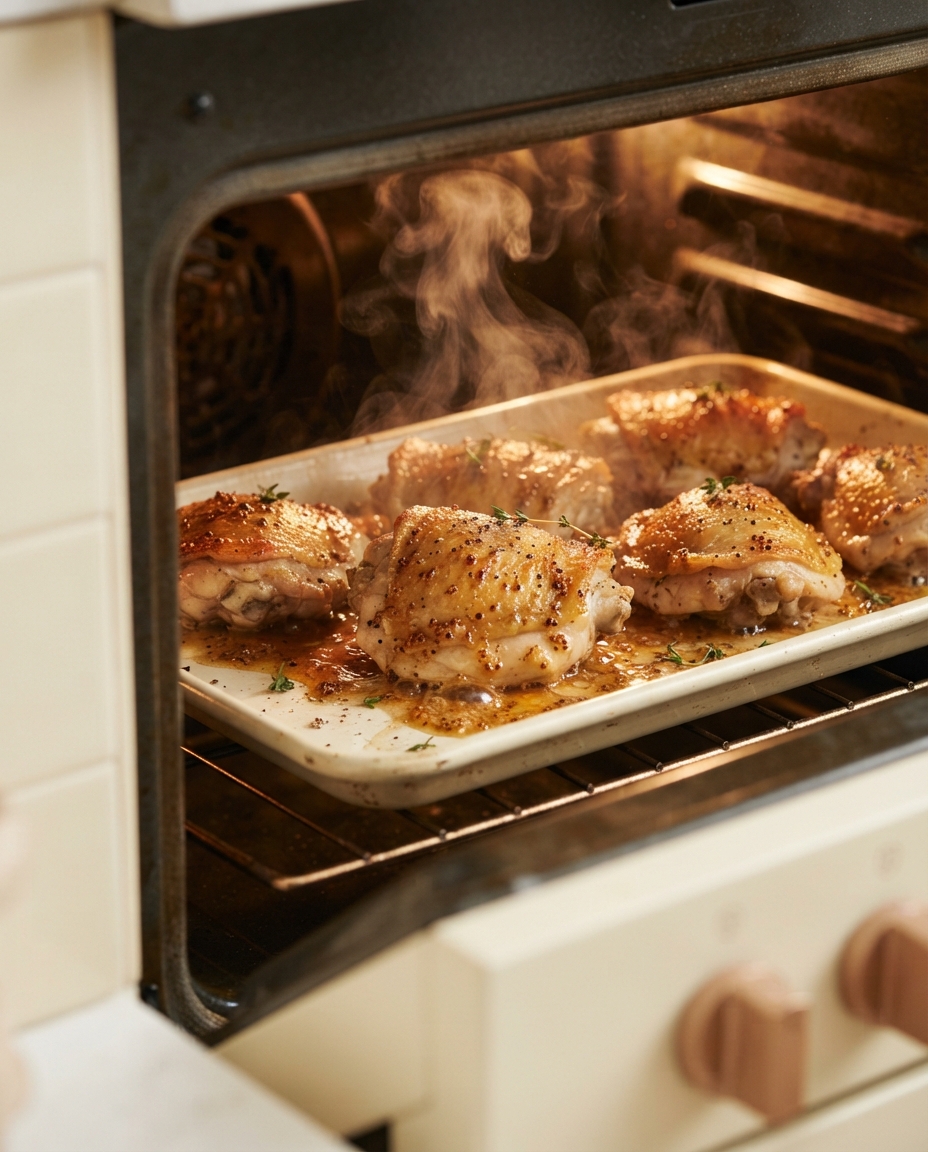
Slide the pan onto the middle rack and roast for 25 minutes, until the glaze is bubbling around the edges and the skin is turning deep golden. Your kitchen will smell incredible — this is normal, accept the compliments now.
Don't crowd the pan! Airflow is what turns "steamed and sad" into "roasted and crispy." If your thighs are snuggled together, use two pans or roast in batches.
5
Baste Again and Roast to Sticky Perfection
Carefully pull the pan out and brush the reserved glaze generously over every thigh. Return to the oven for 12–15 more minutes, until the skin is deeply caramelized and an instant-read thermometer reads at least 165°F (175–185°F is the juicy sweet spot for thighs).
Thighs are forgiving — they actually get MORE tender past 165°F, unlike chicken breasts which quit on you. If the edges darken too fast, tent loosely with foil and carry on, no drama.
6
Rest, Garnish, and Serve Like a Hero
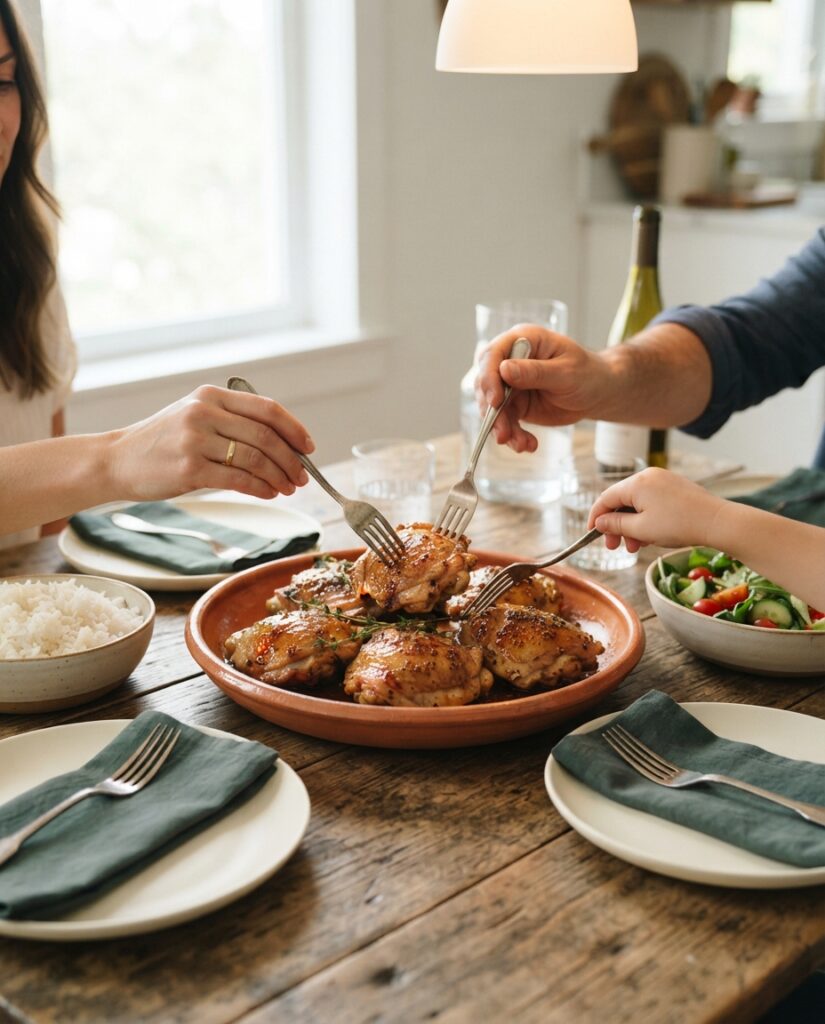
Let the thighs rest on the pan for 5 minutes so the juices settle back in. Scatter with fresh thyme or parsley, then serve straight from the pan like the confident home cook you are. Rice, mashed potatoes, or a crunchy green salad all love this glaze.
Spoon any sticky pan juices over the chicken right before serving — that's free flavor sitting right there, and wasting it should be a minor crime.
Nutrition Facts
Servings 4
Serving Size 1
Amount Per Serving
Calories560kcal
% Daily Value *
Total Fat35g54%
Saturated Fat9g45%
Sodium720mg30%
Total Carbohydrate27g9%
Sugars24g
Protein34g68%
* Percent Daily Values are based on a 2,000 calorie diet. Your daily value may be higher or lower depending on your calorie needs.
Note
Substitutions: No maple? Honey works (watch it closely — honey browns faster). No Dijon? Whole-grain or even plain yellow mustard will do in a pinch, just add a tiny squeeze of lemon. Want more depth? Add 1 teaspoon soy sauce or tamari to the glaze. Boneless thighs work too — cut the roast time to about 25–30 minutes total.
Storage: Cool completely, then refrigerate in an airtight container up to 4 days, or freeze up to 3 months (glaze and all).
Make-Ahead: The glaze keeps in a jar in the fridge for up to 1 week — make a double batch, future-you says thanks. You can also season the thighs up to 12 hours ahead and keep them uncovered in the fridge for extra-crispy skin.
Reheating: Skip the microwave if you can! Reheat at 375°F in the oven or air fryer for 8–10 minutes to bring the crispy skin back to life.
Serving Ideas: Steamed rice to catch the glaze, roasted broccoli on the same pan, or mashed potatoes for maximum comfort.